")
Welcome to Ask Mr X, a series where we answer your embroidery and textile art questions. This time it’s a big one – how do you improve your cross stitching speed?
If you want to cross stitch faster, here are my top tips:
- Use A Hoop
- Try the Sewing Method Of Stitching
- Use Two Hands
- Use The Right Length of Thread
- Do The Bottom Stitches First
- Learn To Park Your Threads
- Use A Stand
- Listen To Music
- Prepare Your Space
- Improve Your Environment
- Start Early
The theory of marginal gains suggests that if you make several small adjustments in different aspects of your sport/craft/whatever, you will see significant improvements in your performance. So let’s dive into my hit list and see how you can level up your cross stitch speed!
Use A Hoop
If you’re not used to having a hoop for your work, this could be a tiny revelation. For some people the sewing method of cross stitch – more on that later – is the only way to go, but the downside of that free form approach is that you are continually having to manipulate the fabric. This not only takes time, but will increase the general grubbiness of the work over time.
")
Using an embroidery hoop to hold your fabric with an amount of tension is a great way to overcome this and is a good starting point for some of the other time saving suggestions coming up.
")
Hoops can be either wooden or plastic and your ideal hoop will be easy to remove from the fabric, either via a spring mechanism or a screw. They come in a broad range, from the tiny hoops of Dandelyne through to 12 inch hoops for working on big projects, but in most cases a six inch hoop will be a trusty associate on your stitching adventures.
PRO TIP: Take your stitching out of the hoop when you finish a session, as this minimises those hard to remove creases and hoop marks.
The Sewing Method of Cross Stitch
If you choose to stitch without a hoop, you gain the benefit of being able to flex your fabric so that you can quickly stitch through two holes at the same time. This cuts in half the number of moves you have to make to stitch a piece and can be really effective in blasting through smaller pieces.
As mentioned in the “Use A Hoop” section, there are pros and cons to this method, and personally I prefer the fabric tension created by using a hoop or frame so that your stitching can be clean and calculated.
If you want to learn the Sewing Method, Dana at Peacock & Fig has got a great video:
Use Two Hands
It is quite remarkable how much time can be saved if you are able to use both hands to process your needle through the fabric. By having a hand on top and a hand on bottom you can develop a shuttle technique that can make short work of back and forth, with only a swift pivot of the needle needed on either side.
If you’re serious about this technique, the John James Twin Pointed Quick Stitch Needle is a fantastic tool in this respect – the eye of the needle is in the centre so you don’t even need to turn the needle! Think of all those micro-seconds saved!
Use The Right Length Of Thread
When you stitch you are using your elbow as a pivot for moving the needle and thread, and therefore you only need to cut your strands of thread to the length of your forearm at most.
Smaller threads take less time to pull through the fabric and therefore you’ll achieve more stitches per minute, however you won’t want to spend too much time changing threads if you’re stitching big areas of the same colour. Pull the strand to just beyond the length of your forearm, to allow for waste knots, and you’ll be getting the best efficiency from your thread.
Do Your Bottom Stitches First
When you are following a chart, you’ll spend time paying attention to the placement of the stitches to ensure that you achieve the desired results. If you tend to do the English Method of stitching – creating each X as you go – this can involve a lot of back and forth looking at the design and the fabric.
I recommend using the Danish method – stitching all the bottom stitches first and then doubling back for the top stitches – as this enables you to hit a nice stitch rhythm particularly when covering large areas of the same colour.
Taking this idea a step further, I recommend doing all of the bottom stitches of a particular colour in any given space first, so that you no longer need to refer to the design to complete the stitches. Even if the area is quite complex, the time taken to make sure those bottom stitches are correct will be clawed back when you’re blitzing through the top stitches as you retrace your entire journey.
Learn To Park Your Threads
If you are working on a design that involves several colours, or has a lot of confetti (individual stitches of a single colour) you will save a lot of time if you can learn to park your threads. It is a simple idea, but not easy to explain.
Parking your threads once you have finished stitching an area of one colour involves pulling the thread through a hole near to the area you will be using that colour next, so that the thread at the back is secure, but is not getting in the way of your current stitching. When it comes time to use that colour again, you simply pull the strand back through from the top, thread your needle and carry on.
As I say, this is simpler than it sounds, and once again Dana from Peacock & Fig has come up trumps with this tutorial:
Use A Stand
Anyone who has spent time stitching realises the value of having a stand to hold the work. Whether it’s a lap stand – that you sit on – or a floor standing frame, this tool is great for improving both your stitching speed and your posture.
")
With the lap stand/seat frame, you sit on the paddle which stabilises the upright arm. These work well if you are sitting on a sofa or using a table. Floor standing frames can have one or two legs and tend to be more stable than lap stands in the long run.
It might seem like an expensive choice, with prices ranging up to £50 for a decent sized frame, but the convenience of having both hands free while maintaining a good tension on your work will outweigh the cost in the long term.
")
Your ideal frame should be adjustable so that you can adapt it to your sitting position and ideally be sturdy enough to support additional gizmos – more on these later!
Prepare Your Space
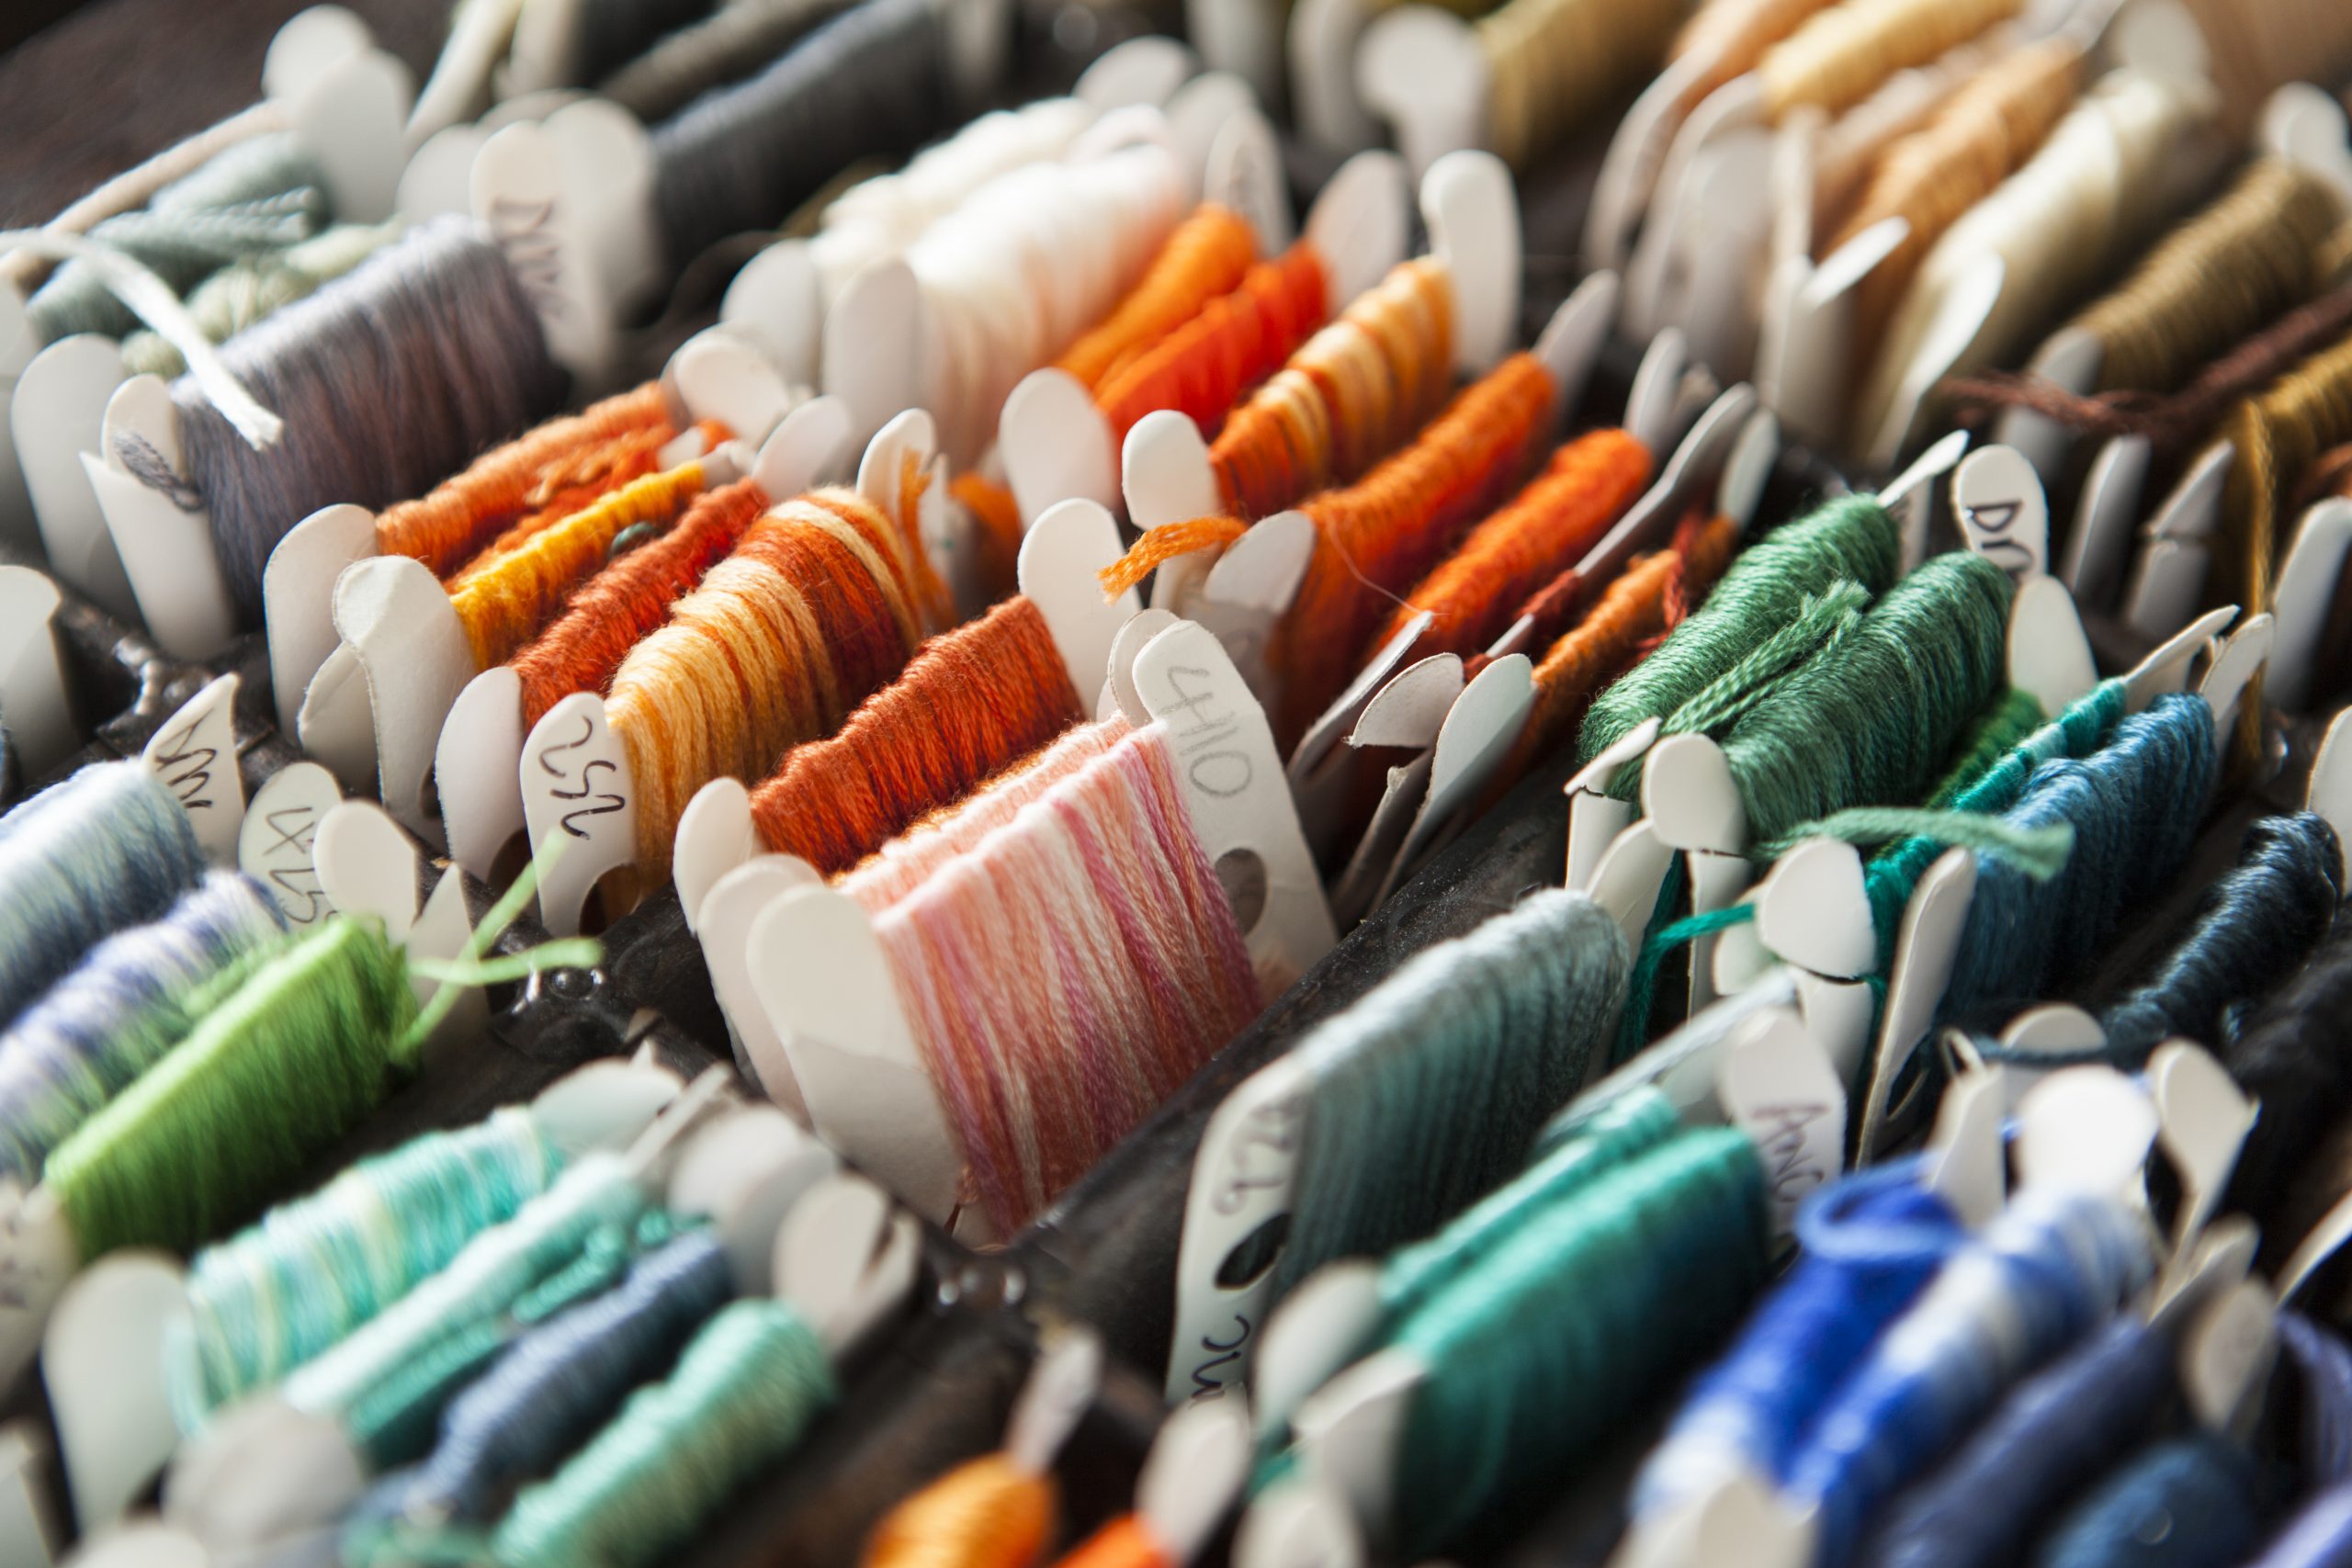
If you take the time to arrange the threads you need for your project into a suitable order, and have your needles and other tools in close proximity, you will save plenty of time when it comes to restocking your needle.
Any decent cross stitch chart will give you a thread list and I would recommend investing in a Bobbin Box, within which you can arrange your threads in numerical order. It might not be the most exciting task, but it can avoid a lot of frustration when in the middle of a project.
")
One of the smartest tools I bought for my floor standing frame was a flexible clip arm on either end; this meant I could position my chart at eye level and keep track of my progress without moving my head.
")
Another useful hack is to use Sugru and magnets to create places where you can stick your scissors or other useful accoutrements. Sugru and magnets can be combined in loads of ways outside of the world of stitch, but if you want to save time in hunting your snips, give this hack a try!
Prick Your Ears
Another interesting hack is to listen to music, rather than watching TV while you stitch. It is always nice to binge on some good telly while you’re stitching and unless there are subtitles, you can usually manage to keep up with the story. But if something exciting happens, you’ll stop your stitching and pay attention to the screen. No biggie, but if you want to streamline your stitching, you have to listen rather than look.
Anything audible will stimulate your brain but without averting your gaze. Whether it’s an enthralling podcast – have you listened to the LoveCrafts show on Apple Podcasts or Spotify yet? – or a good audio book, you can immerse yourself in something entertaining all the while paying attention to where your needle needs to go next.
Want to get even more speed in your stitching? Choose some uplifting dance music like liquid drum n bass, or soulful house music, and you’ll be flying!
Improve Your Environment
If you have a lot of stitching to be done, you may spend hours sitting in the same position and you owe it to yourself to make sure that your workspace is ergonomically sound. The last thing you want is to sustain an injury while stitching – not the most hardcore of excuses for an injury! – so regular stretching and moving around, at least once an hour, will help you stay flexible.
As mentioned before, an adjustable way of attaching your hoop to a stand can help you reach your stitching while maintaining a good posture.
The other critical factor is light and the value of good lighting cannot be understated. Eye strain or headaches caused by squinting while stitching can be horrible and can have a detrimental long term impact. Thankfully there are a number of light manufacturers who have realised the needs of the modern stitcher by producing daylight lights that can be flexed to suit your stitching position.
")
Some time ago I invested in the Daylight Company Slimline Floor Lamp and it’s been a great decision. As well as being flexible and bright, it is quite innocuous and doesn’t stand out when not being used. This means that I can keep it in my lounge, use it when I need to and not really notice it the rest of the time. It’s flexible so I can manoeuvre it close to my stitching, meaning that the light pollution in the room is minimised, while my work is clear and easy to see.
However it’s not the cheapest, and there are a wide range of daylight lamps to choose from. Try not to let budget get in the way of the health of your vision – good eyesight is an important thing to save.
")
Similarly, don’t be shy in getting a magnifying lamp if that will make your stitching easier. The gains in seeing the holes in 32ct linen will easily outweigh any concerns you might have about the perception of the product.
Start Early
This is a leftfield thing to say as it doesn’t really address the issue of speeding up your stitching. But what it does do is enable you to push deadlines back a bit. Where possible, if you’re making a cross stitch for someone that has a particular deadline, start projects as early as you can and chip away at them.
If you get tired of stitching that project, switch to something with a completely different colour palette for a while as that will refresh your perspective and might help you re-enthuse for the task ahead.
Alternatively, if you know of someone who has just had a baby, start stitching “congratulations on passing your driving test” as that gives you roughly seventeen years to get it done!
So there you have it! If you want to improve your stitching speed, try some of these tweaks and see what happens. Let me know in the comments if you have any other top tips, or if you have success in trying these ideas.
Happy stitching!