When considering the hanging of your textile you have two choices – an inner wooden framework (see previous post) or a HANGING SLEEVE. This can be a stand alone feature – a fur backdrop for the 3D flower halo in Jesus 2.

An extension of the overall design – Button embellishment in Cancer 2: Mastectomy

Housing a title and signature – ”Skeletal frames take on the shape of old bones, brittle and cold. Naked now, fully exposed” Autumn 2.

Let us explore…
HOW TO CREATE A HANGING SLEEVE – YOU WILL NEED

- an outer and inner fabric to compliment your textile
- wadding (I use a summer duvet) if you want a padded sleeve
- allow extra fabric when measuring the width of your textile (for creating sleeve openings)
- allow enough height to fold from front to back with seam allowance (stitching sleeve to textile)
- an embellishment panel of lace or ribbon to cover stitching
- strong needle, thick thread, thimble to push through thick layers (if required) and tape measure
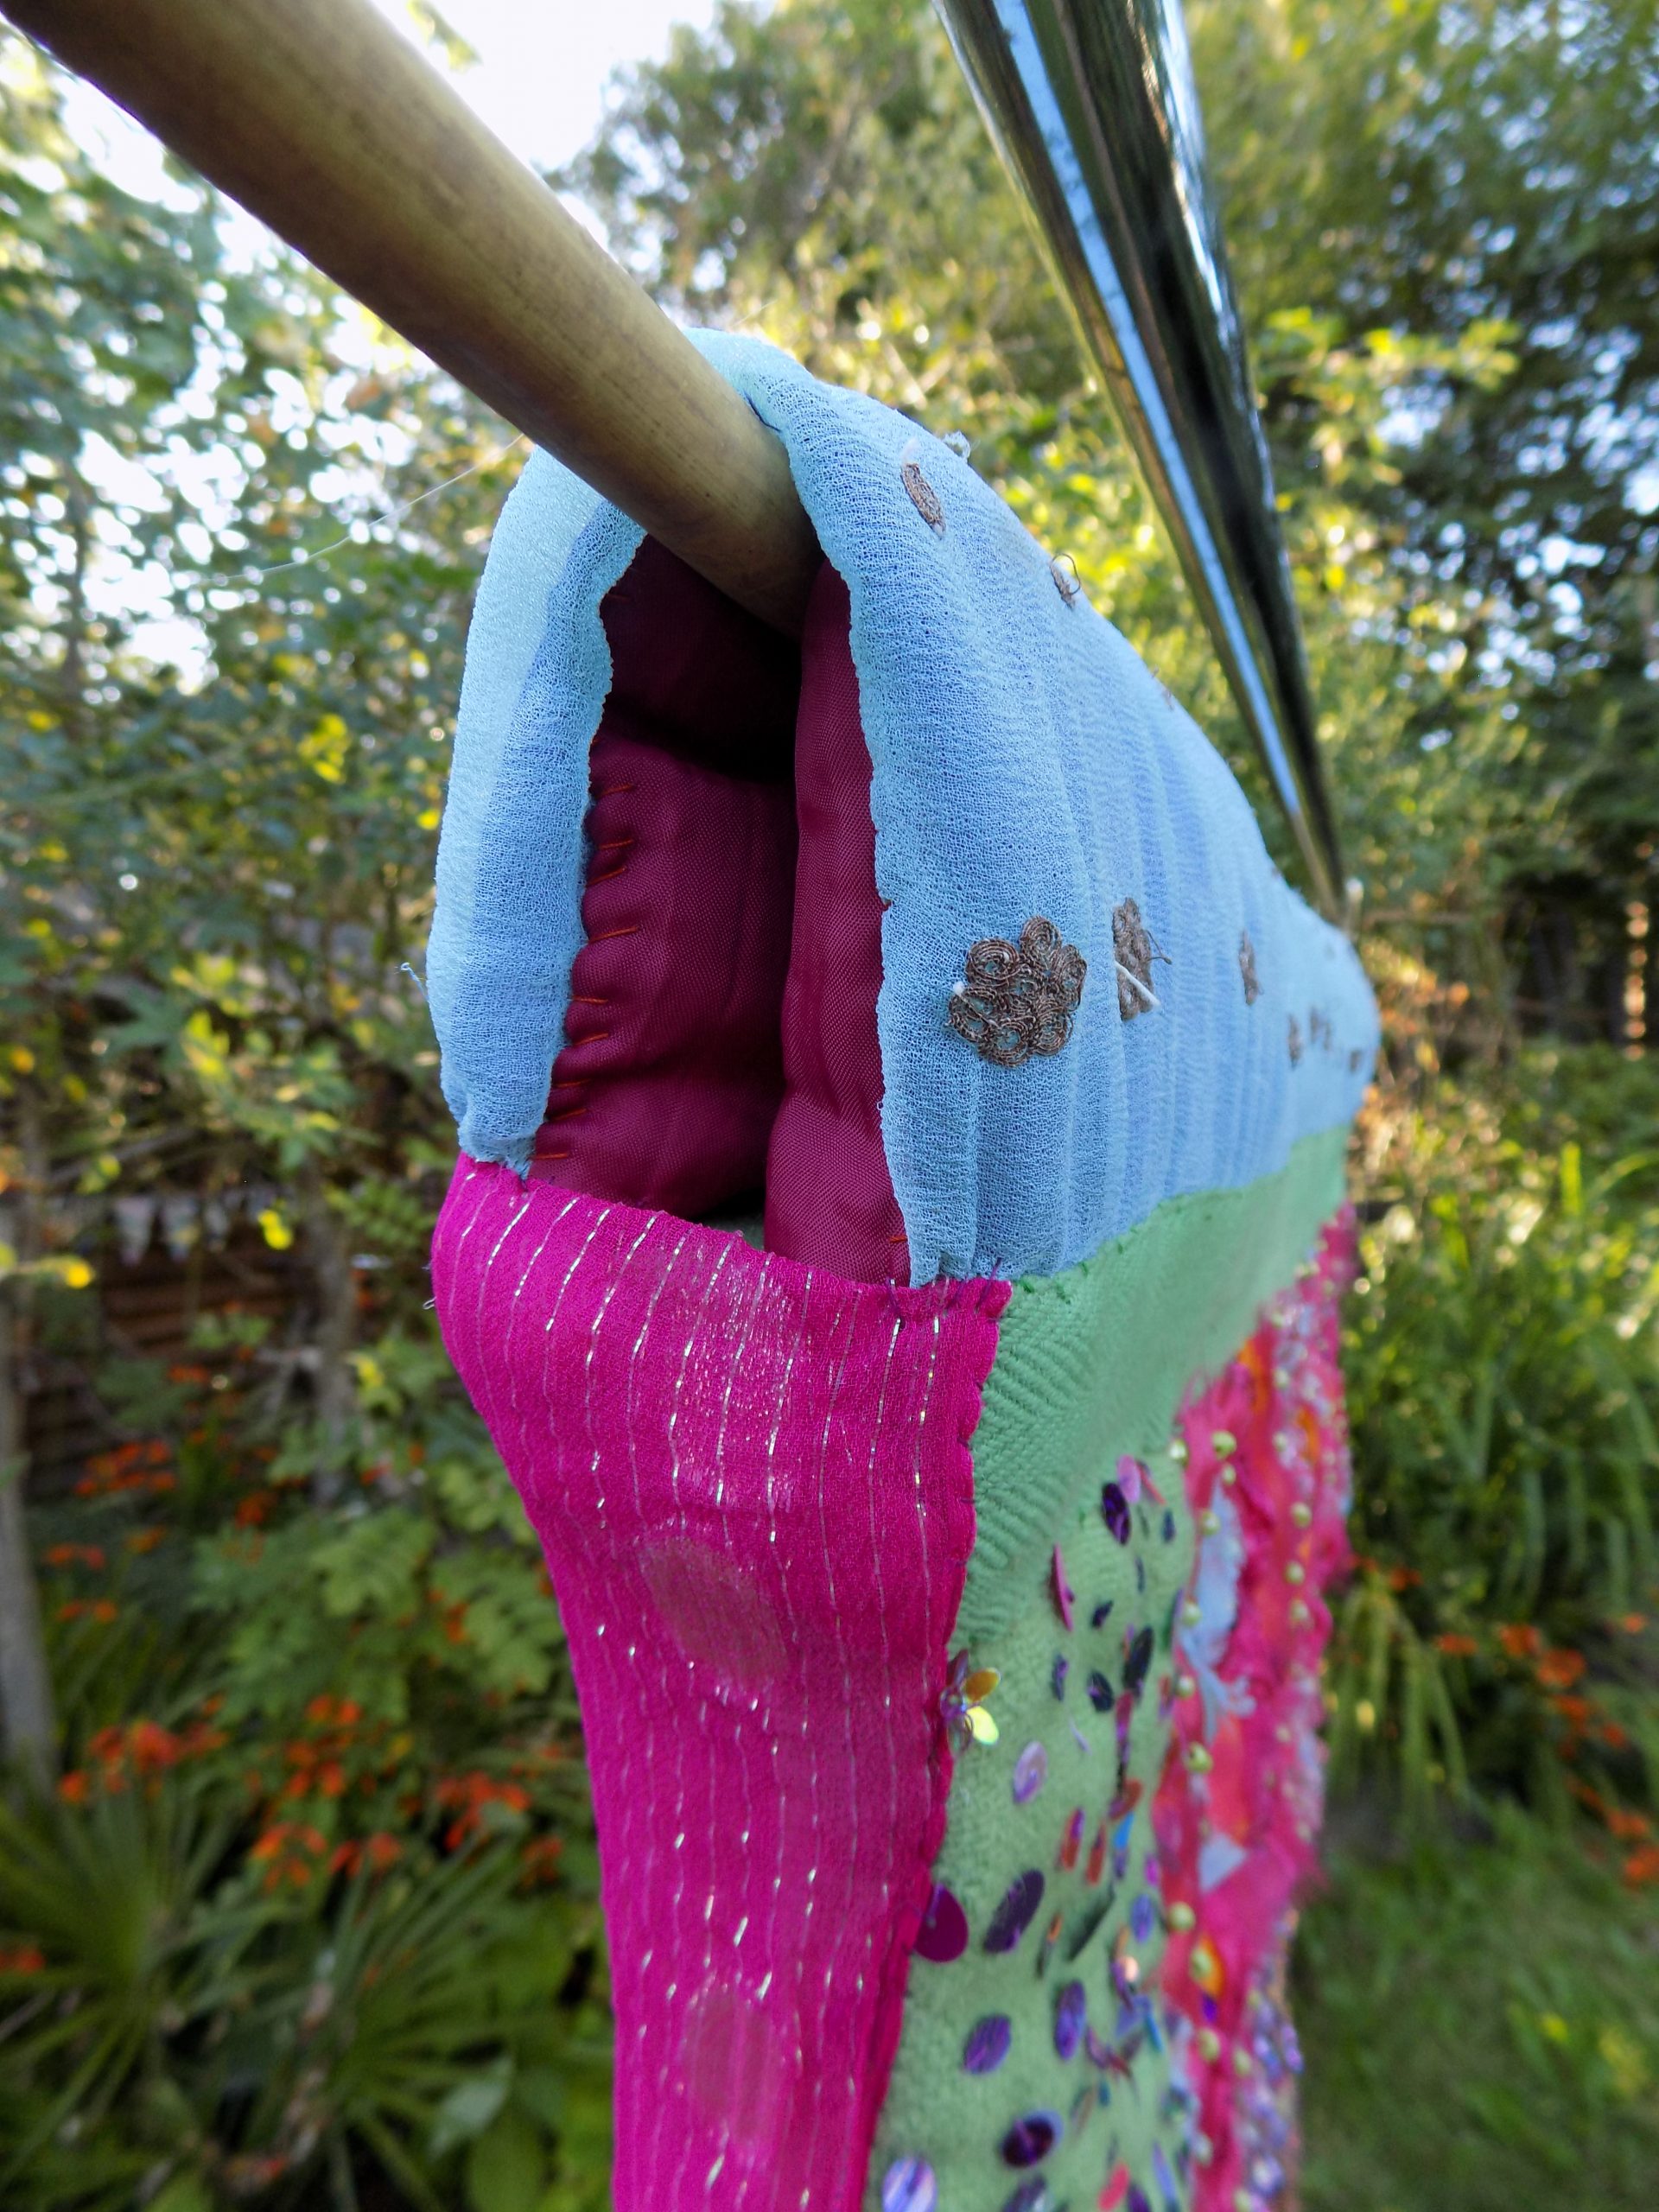
- metal pole for heavy textiles and bamboo for light
HOW TO CREATE A HANGING SLEEVE – TO DO
- cover your textile edge so that you have a neat inner to your sleeve
- layer your sleeve panels wrong sides together and pin
- turn in edges on three sides (one sleeve opening and two long width edges) and pin, measuring as you go to make the height of the sleeve equal

- over sew edges to secure panels, leaving one edge open (to be cut later)

- pin the right side of sleeve onto the front of your textile along the covered top edge, lining up stitched sleeve opening with the edge of your textile

- stitch from front to back along the edge of sleeve with a double thread to ensure a secure bond between sleeve and textile. For heavy textiles repeat a second layer of stitching. Remember, stitches will be covered with an embellishment braid and do not have to be neat. The more stitches you have the more secure the sleeve. Stop approx 1 inch from the end which needs to be cut.

- Cut excess fabric, allowing about half an inch to make adjustments.

- Turn in and pin sleeve opening, lining it up with the end of your textile. Do not stitch yet. Finish stitching sleeve to textile.

- Turn your textile over. Pin the top of your textile to the inner sleeve fabric for a neat finish. Stitch using a single thread. Do not stitch through to the outer fabric of your sleeve. You do not want to see the stitches.

- A padded top will have created a mound but stitching will flatten it to the sleeve. You are simply attaching the textile top so it does not create two channels inside of the sleeve.

- Neatly stitch the two ends of the textile top to the inner sleeve (both the stitched and pinned ends)

- Fold your sleeve to the back of your textile, lining up the stitched edge of sleeve with the edge of your textile.
- Pin using the line of stitching you already have (when securing the sleeve to the front) as a guide. Then use a tape measure to check that the height is equal along the width of your sleeve.

- When you reach the pinned sleeve opening adjust the seam so that the edge lines up with the edge of your textile. You will have to open out the sleeve in order to pin adjustment. Do not stitch seam yet. Finish pinning sleeve to end of textile.

- Before you stitch your sleeve to the back of the textile hang to see if further adjustments need to be made. You can gauge by eye any bagging or pulling.
- Over sew along the edge of your sleeve using a double thread, securely attaching to the textile without going through to the front. You should have enough depth of fabric to achieve a good bond. The sleeve is already securely attached at the front. For heavy textiles repeat a double layer of stitching. Allow about four inches before you reach the end so you can stitch the pinned sleeve opening and then continue stitching your sleeve to the textile..

- You are now ready to cover your stitches with an embellishment of your choice, wrapping from front to back in order to provide a neat finish to your sleeve openings. Measure the openings and adjust embellishment to make them equal. Pin and stitch neatly. I often make my own with strips of fabric.

I hope this article has been an easy guide in HOW TO CREATE A HANGING SLEEVE. I prefer this option to framing because it allows for easy storage (roll or fold textiles onto a shelving system) and postage (roll, bubble wrap and bag or box). Visit my website galleries to see a variety of hanging sleeves Gallery | Christinecunningham-textileartist (wixsite.com) and Textile gallery | Greater London | Christinecunningham-textileartist (wixsite.com)