Welcome back to NeedlePoints of View, a monthly column brought to you by Emma of The Maker’s Marks and Hannelore of Hedgehog Needlepoint, where we’ll be sharing our love of all things needlepoint. Whether you’re new to the craft and want to learn what it’s all about or you’ve already fallen under needlepoint’s spell, we hope to inspire you to pick up a needle and get stitching.
Last month Shannan walked you through all the things to consider when you’re choosing your first needlepoint kit or canvas. So this month I thought I would jump in and share some of the stitching fundamentals, the handy hints to help you get started putting thread to canvas.
First things first! Threading your needle!
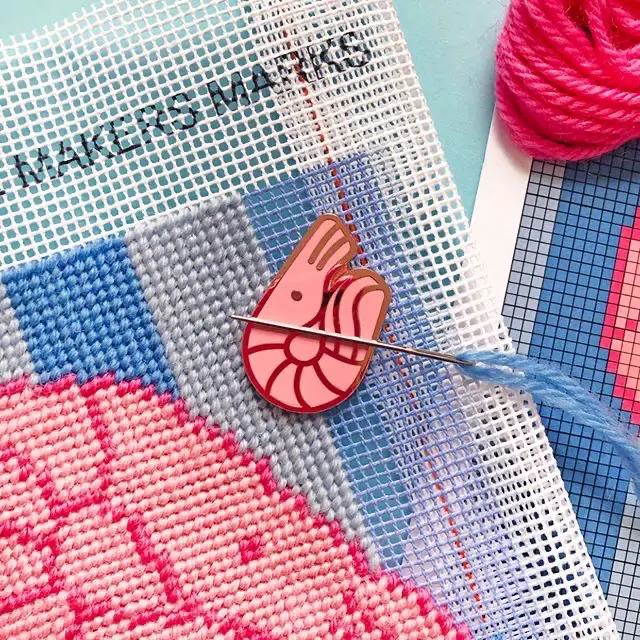
Tapestry wool is a lovely chunky fibre to stitch with but it can prove a little tricky to thread your tapestry needle with. My favourite method was taught to my by my mum when I was about 6yrs old, so if I could master it then you can for sure.
Grab your length of thread and fold it over the eye of your needle.
Slide out your needle and keeping the thread loop pinched tight between your thumb and finger slowly push it through the eye of your needle. I’ve created a little video here to show the method in action.
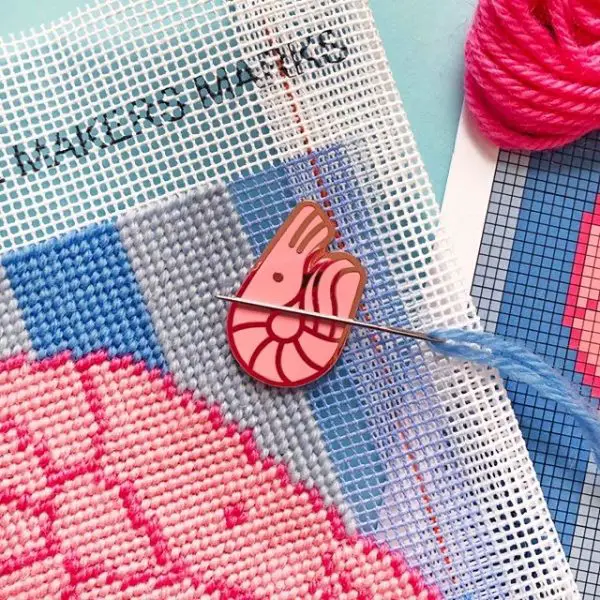
‘Casting on’
There are lots of ways to get started on your needlepoint. I like the ‘waste knot’ method…
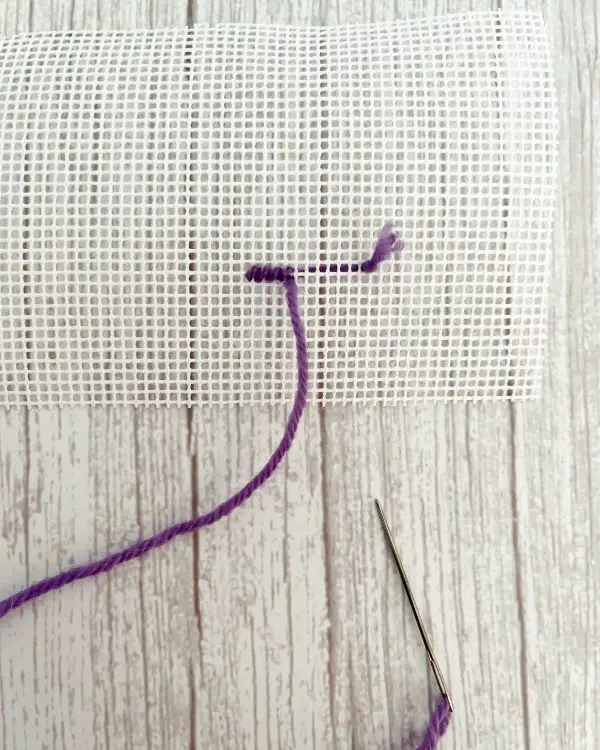
Thread your needle, tie a knot in the end of your length of wool and bring your needle through the front of your canvas about six or so canvas holes to the side of where you want to start stitching.
You’ll see your knot on the front of your canvas. Then as you are sewing your tent stitches towards the ‘waste knot’ make sure you are going over the thread length from the waste knot showing at the back of the canvas, essentially trapping the thread in.
Then when you’re about a stitch away from the ‘waste knot’ just snip it off. Your wool will be secure and you can stitch away to your hearts content.
Mr X Stitch has a great video about the waste knot technique – click here to check it out!
‘Casting off’
Once you start to run to the end of your wool length (about twice your needle length) by far the easiest way to ‘cast off’ is to run your needle through the back of your stitches, pulling the end of your wool along with it for about 2 cms. This will tuck your wool in to the back of the piece and you just snip off any excess.

Try to ‘cast off’ your threads in to the back of stitches of the same colour, this will help save any unwanted colour peeking through to the front.
You’ll find your own way with this, some people have super neat backs, others look like a pile of spaghetti; don’t worry as long as your back isn’t too lumpy you’re doing good. Just make sure not to leave any knots at the back of your work, these can cause problems when you’re finishing up your project.
The stitches
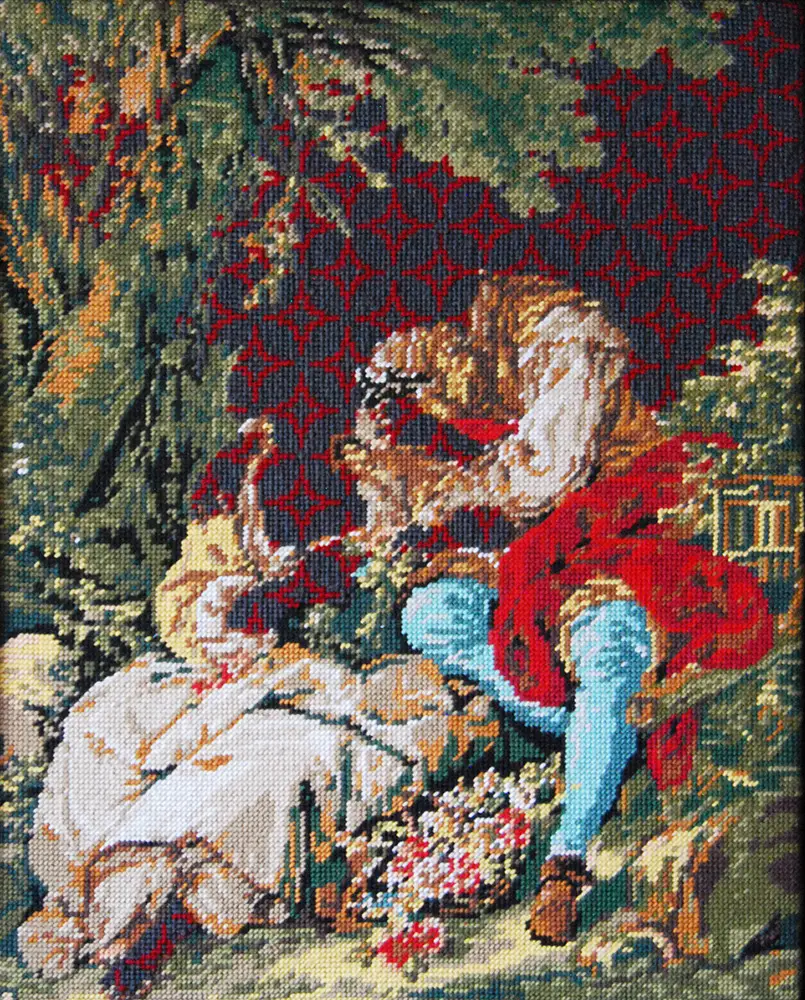
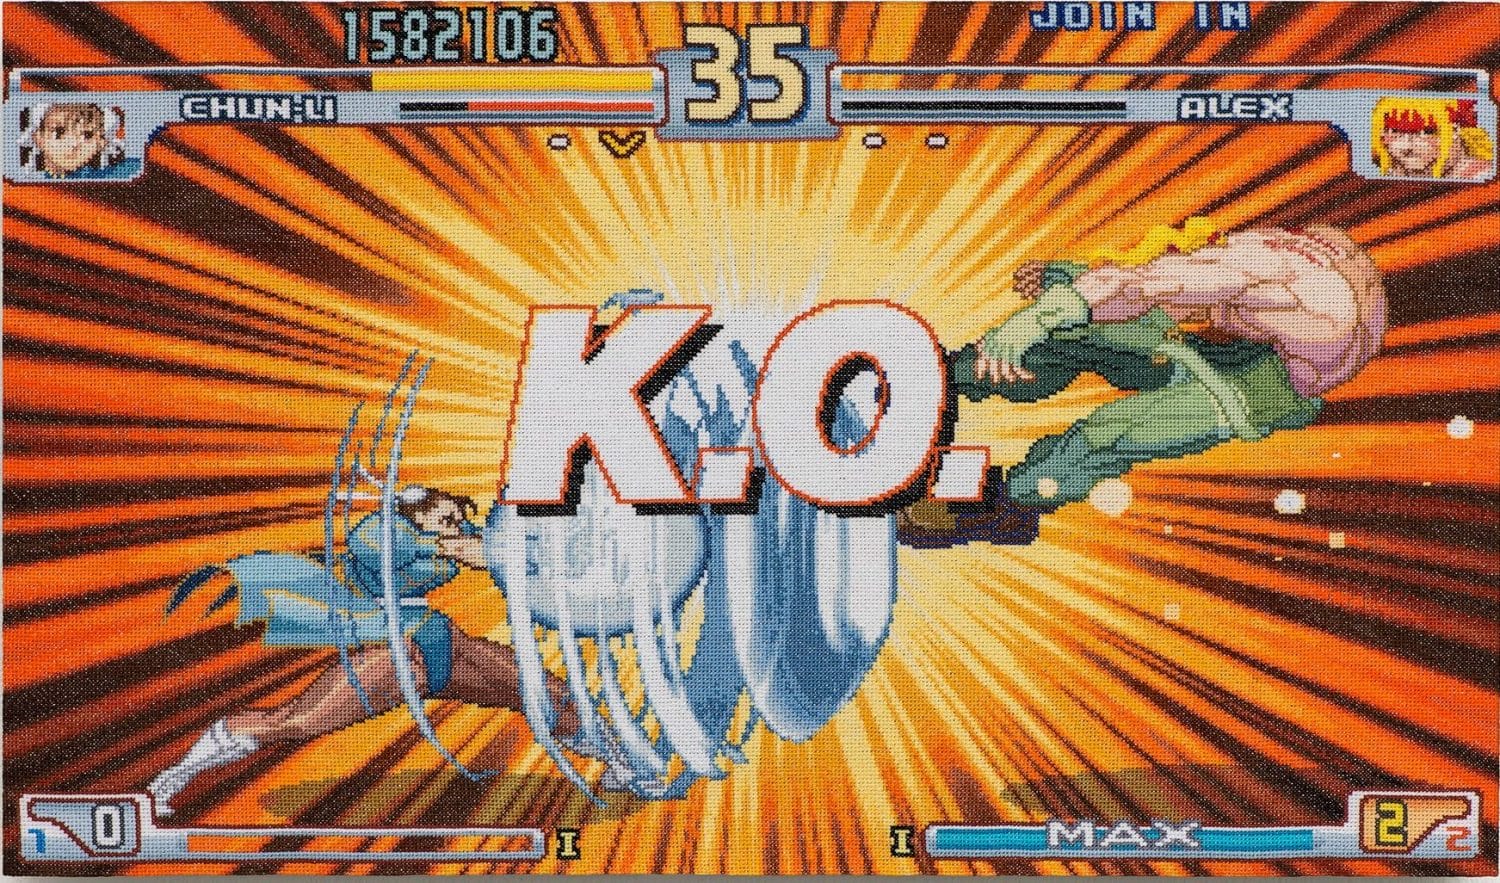
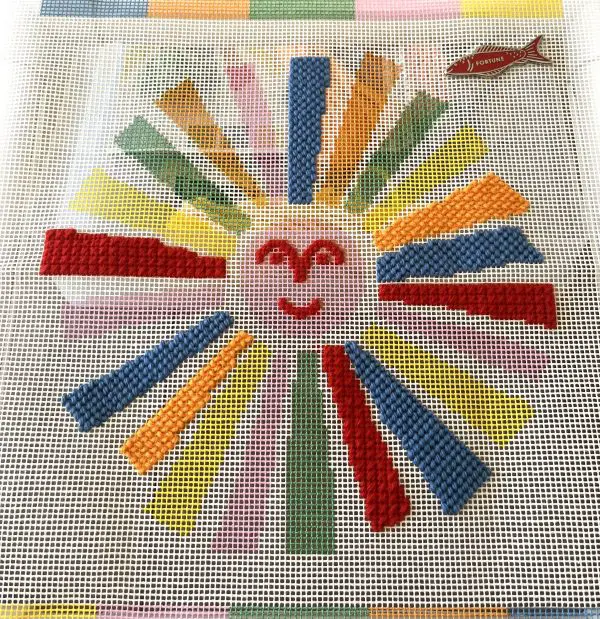
The traditional stitch used in needlepoint designs or tapestry as it’s sometimes known, is a Tent stitch. Tent stitch is a simple half cross stitch, so cross stitchers there is no need to feel scared of delving in to the needlepoint world it’s literally half the work!
The other two basic stitches you’ll see pop up a lot are Continental Stitch and Basketweave Stitch. All of these stitches look pretty much the same from the top side of the canvas but provide different coverage on the back.
I’ve created a chart below that show you the stitching method for each of these Tent stitch variations. You bring your needle up through the underneath of the canvas on an odd number and down through the canvas top on an even number.
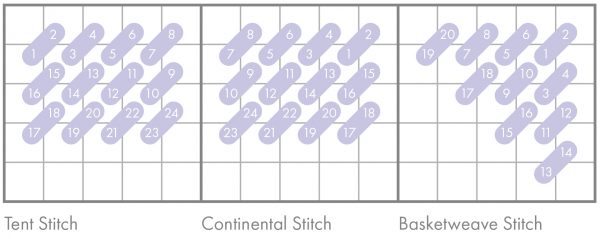
Like I said above each of these stitches provide different coverage on the back of your work. Generally speaking Continental stitch provides more durability, whilst Basketweave causes less canvas warping.
Although I’ve never met a canvas that can’t be ‘blocked’ back in to shape and as a die hard Tent stitch fan I’ve never had a problem with it’s durability.
With all hand crafts you find your own way. Hopefully these stitching fundamentals give you a good starting point to leap off from!
Next month Shannan will be showing you all the different types of frames on the market and exploring the differences of stitching in hand v’s with a frame.

