My upcycled sewing stool – a Craft Rocks limited edition!
I’ve never been able to find a comfy enough chair to use at my sewing desk. Like Goldilocks I find some are too hard, some are too soft, but I can never find one which is juuuuuust right. My mum has a lovely wooden stool she uses so I’d been keeping an eye out for a similar one I could upcycle, and finally found an Ebay bargain.
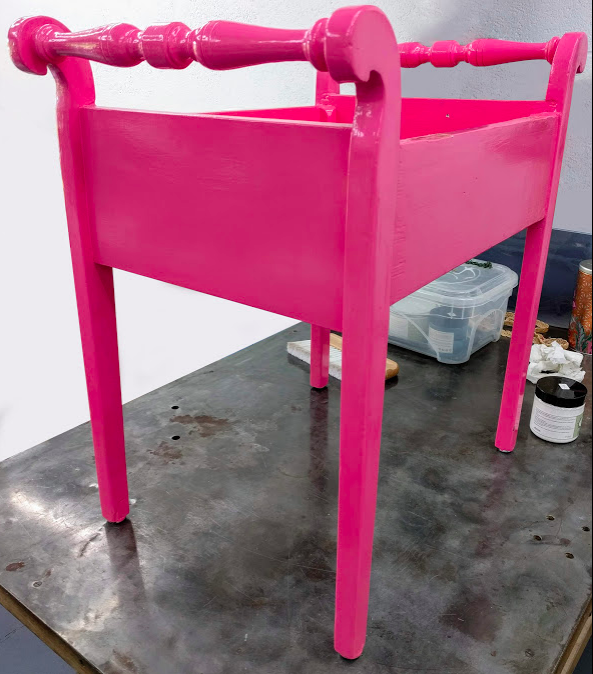
The style was exactly what I wanted, right width, right height, I would be able to collect it locally to keep costs down, and best of all – I got it for £5. Yippeeeeeeee. The first thing I did was to unscrew the hinges to remove the lid from the main body. I then took out the staples which were holding the fabric on the top so I could remove it. That left me with a naked body and a naked lid. So it was time to figure out what I wanted to do!
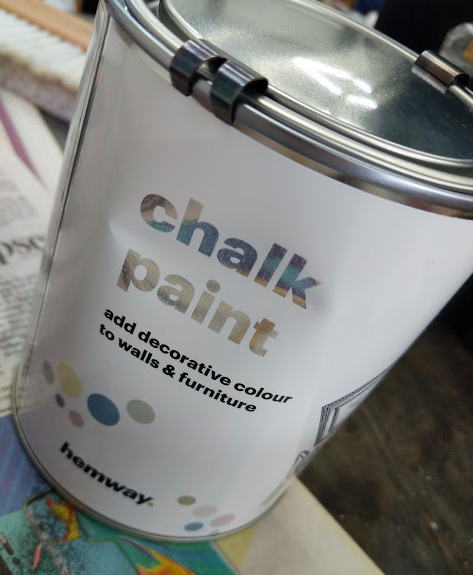
I started by buying some paint. I am a huge fan of Hemway chalk paint. I find it gives really good coverage and a tin (even the small 125ml ones they sell) lasts forever. I usually buy directly from their website where they often have a “3 for 2” offer on which saves lots of money. However the paint I wanted was out of stock there so I bought a 1 litre tin of their white chalk paint from Amazon. The tin is quite large for this project, but I’ll easily use the leftovers up on other projects.
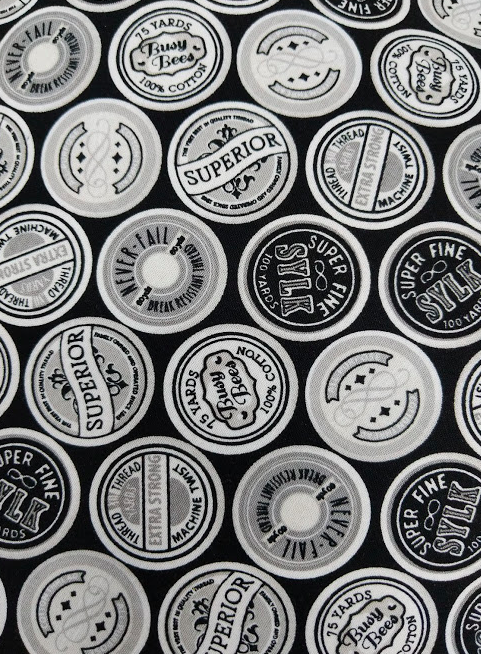
I had absolutely no idea what fabric I wanted to use so I just opened my fat quarter stash and had a good dig through it. Once I saw this cotton reel fabric I knew that was what I had to use. It compliments the white paint really well and is very appropriate for use on a sewing table seat. A few people have asked what the fabric is. All I can tell you is it said BoBunny on the side of the fat quarter I had, but nothing else.
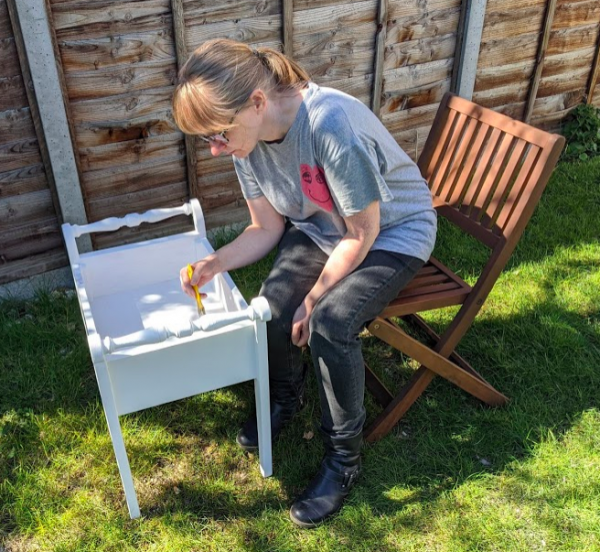
Next I moved on to the painting. It took three coats of paint to cover the pink successfully, then after that I spent a while looking around the stool and filling in any little corners I spotted that needed a touch up. Thankfully the weather was beautiful during this upcycle so I was able to paint outside and the sun dried the paint nice and quick to speed up the process too.
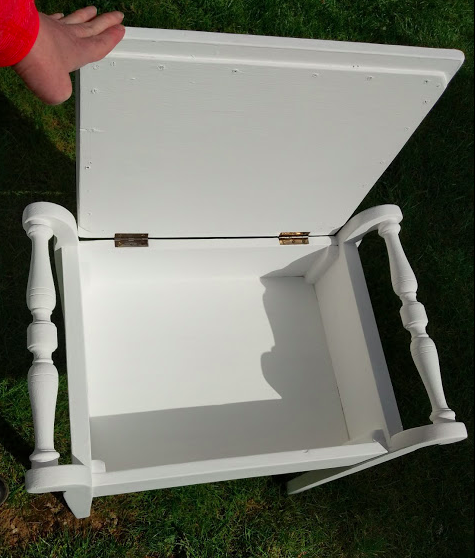
When it came to the lid, it was a total mess. I had used a staple remover to take out the staples to release the fabric. What I found underneath was not great. There were four or five sets of previous staple tracks, this stool has had a lot of work done on it in the past. I thought about filling the holes in and sanding over the filler to paint over it. But I decided against it thinking that part of the wood had already been through enough. Instead I decided to make the fabric wide enough to cover the nail tracks. You can see what I faced below.
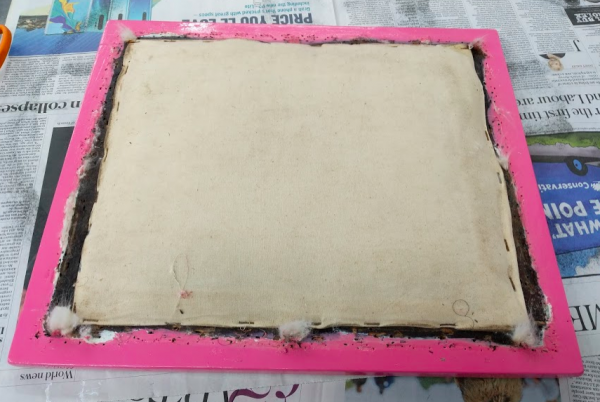
As you can see from the pic above, the padding in the lid was still good. It was also really comfy which was a fantastic bonus to my bargain buy! I just gave it a trim where the filling was spilling out a bit and removed the cotton wool I found under some of the staples. I then measured what size I wanted the fabric cover to be and simply took my fat quarter, folded it to the right size using the iron, and stapled it down.
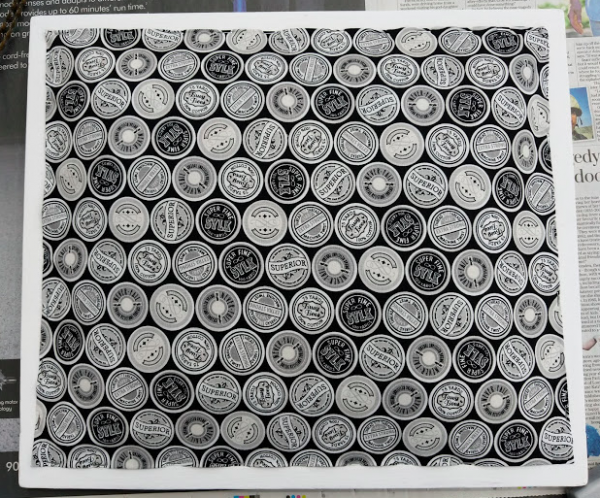
I had decided I would put a funky nail trim around the fabric to cover the staples. I found some on Amazon. It came in a 5m length with a bag of nails. I had never used nail trim before. As the name suggests it is a trim which looks like you have hammered in a strip of nails, effectively a strip of fake nail heads. Along the strip every fifth or sixth nail head is missing, instead there is a hole for you to hammer an actual nail through to fix the trim in place.
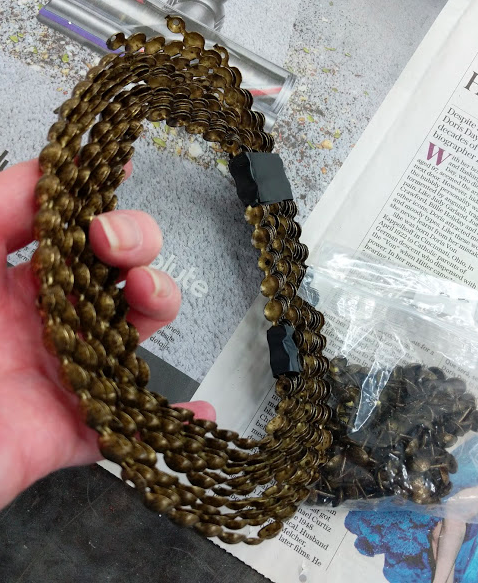
Easy peasy I thought, until I came to a corner… the corners did not line up with the holes in the trim so it took me a while to figure out what to do. I cut the trim as close to the corners as I could, ensuring the last piece is a hole to put a nail through, then I secured it down and filled the gaps left around the corners with the real nails and no trim. It was quite hard to space them out properly.
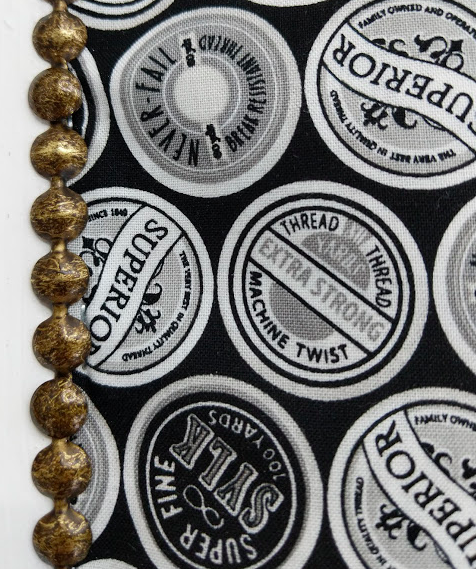
For a while this trim became my nemesis. I found it hard to get the nails to go in straight but then it suddenly just clicked and I managed to get it completed quite quickly. But then I realised that while I had been hammering it on the trim had scratched or chipped some of the paint – gah. So I got the brush out for more touch ups.
Finally the time had come to re-attach the lid to the base. The hinges which came off it were a bit dull so I used some Brasso to brighten them up and reattached them. I could do with a new set of hinges so I’ll put them on my post lockdown shopping list.
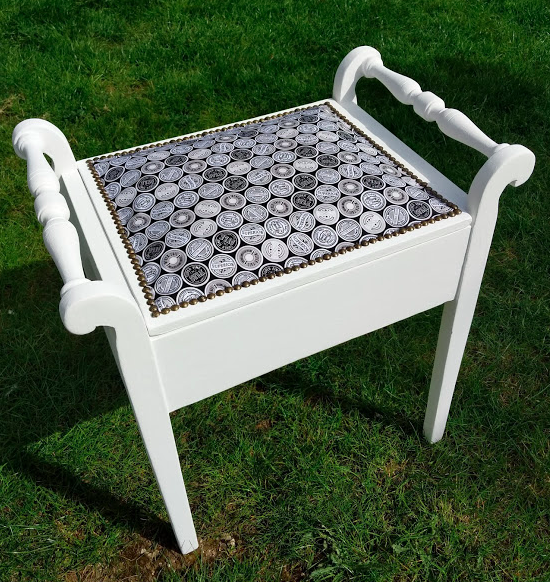
And here it is! I’m really pleased with how it has turned out and I learned a lot during the process, mainly about nail trim and how best to use it 🙂
I hope you are all safe and well during this strange time in our lives. I’m furloughed from my day job so I’m working on lots of crafty projects to keep my mind occupied. What craftiness are you working on?
Costs
Stool: £5 from Ebay (collected in person so not postage cost)
Paint: £29.95 from Amazon (used about £5 worth on this project)
Fabric: £3 fat quarter from my stash
Nail trim and nails: £7.85 from Amazon (used about £3.50 worth on this project)
Total used on this project: £16.50
Best song for this project: Our House by Madness (Stay home, save lives)
Best cake for this project: Whatever you can get your hands on during lockdown! I’m craving red velvet…


