As far as I am from my first experiments in embroidery digitizing, I am well aware of the frustration that those first flailing grasps at the art can bring. A week doesn’t go by that I don’t talk an erstwhile digitizer off the ledge of abandoning the craft. The disconnect they feel between the seemingly perfect work done digitally to what is accomplished when they finally let the machine jab its thousands of stitches through real fabric is a source of confusion and more than a little cognitive dissonance for many. With the new year fast approaching and the assurance of a crop of newly-minted software owners ready to dive into the depths of digitizing, I thought it high time to lay out some basic truths of the art to release all of them from painful assumptions and expectations that might hinder their work or hamper their enjoyment of the learning process. I can’t stress enough that learning these three key truths about digitizing are key to your happiness in exercising the art:

1. There will always be distortion.
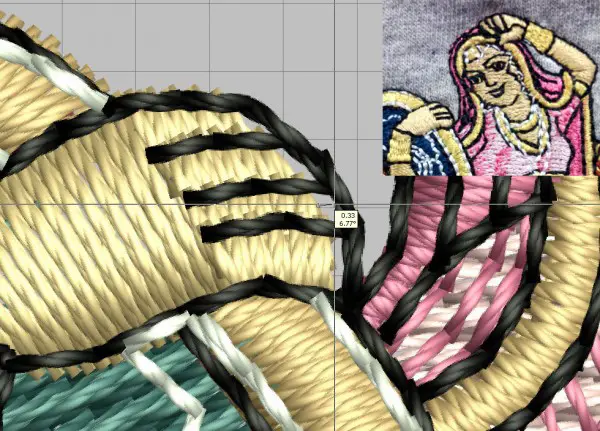
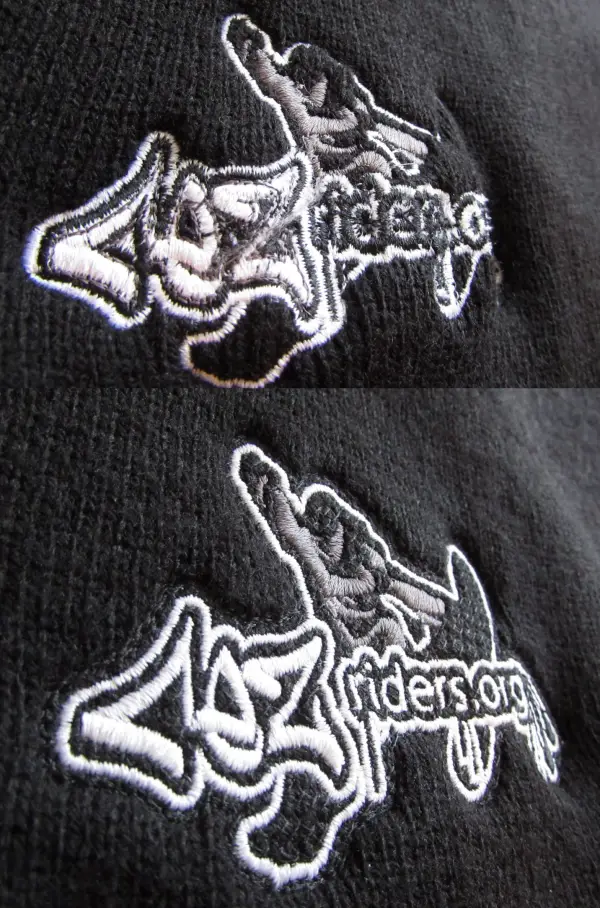
The stitches you create on-screen absolutely, without a doubt, will not be represented in thread exactly as you placed them in your software. For this reason, you must learn how the machine distorts your work and prepare for it with compensation. Push compensation and pull compensation will be a part of your embroidery life if you want your outlines to line up and junctions not to become gaps. Remember this always: What looks perfect on-screen, will result in a distorted looking embroidery in the thread. If everything lines up on a razor’s edge in your digitized file, expect to see gaps, bleed-out, and outlines that miss their mark. The best designs you’ll ever run will have odd uneven bits, gaps, and weird angles in their files, and yours (when correctly executed) should, too. Don’t convince yourself out of what you know will work in the process of stitching just because it looks funny on-screen. Measure your stitches on file and again in your finished piece- it won’t take long for you to see what I mean. In the end, you’ll learn to trust that the odd overlaps and gaps you purposely create for compensation will not be present in your finished piece.

2. You will stitch failed samples.
When you digitize your own designs, particularly if you are trying anything new in your technique, or are working with new materials, you will have occasion to fail. This is normal. I’m 15 years into commercial digitizing as a full-time career, and within the last week I had to rework one of my designs fairly extensively- twice. Admittedly, I rarely have to edit much- my first attempt is usually what goes into large-scale production, but that comes with a load of experience with materials, starting as an operator of embroidery machines and growing over years of digitizing and testing and even that doesn’t stop me from needing on occasion to go back to my software for a revision after seeing that first run of a new design. This means that any project worth doing is worth sampling first (especially in the case that you are embroidering on anything difficult or impossible to replace). Get fabric that matches your finished piece as closely as possible and run the design once for testing under the same conditions, with the same support materials you’ll use for your finished piece. If you have gross errors, fix them and, ideally, run again before going to final production. In time you will do less of this testing and retesting but you should never assume that your days of trial and error are over. Every new combination of design and fabric will likely have you back in the testing and analysis loop. This is to be expected, and in my mind, is some of the most rewarding (if sometimes frustrating) work in the craft.

3. Machine embroidery has limitations
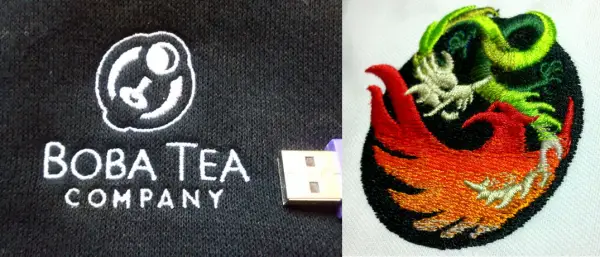
I can hear the collective cries of ‘small lettering’ and ‘color blending’ from the purgatory of young digitizers first struggling with the limitations of the media. If you know from the start what embroidery can’t do, or at least what it makes insanely difficult, you’ll be better prepared to explore all that it can do and does well. Remember that this is an interaction of physical objects that have measurable and fixed characteristics that define how they’ll act during the stitching process. Thread has a thickness, fabric has a way it likes to stretch, and needles make a hole of a certain size, and these things will inform the way they stitch. Though technique and artistry are involved in how you employ your materials and most certainly change the quality of your outcome, there are physical truths that no amount of creativity can ultimately change. Thread is thread and not ink, and machine embroidery specifically doesn’t offer the pinpoint (ha!) control of hand embroidery over every stitch, so you’ll have to make some small concessions to the nature of the art in your designs. In the end, you’ll find that the patient, creative, and curious machine embroiderer can push the limits of what the machine and thread can do to such an extent that the limitations seem trivial. Machine embroidery’s combination of speed and repeatability with the texture, sheen, and dimension of stitching has so much to offer that a couple of limitations on how small a letter can stitch legibly or how smooth a blend will be in a certain amount of space hardly make it less attractive.

All in all, I can’t recommend enough that you stick with your adventure in digitizing. I love being the invisible hand that drives the hoop and whose creativity can be saved to a digital essence and recreated on any machine, anywhere in the world. Even if you never send a file further than the distance from your home computer to your own small machine, the reward of watching that magic unfold after the effort in planning and plotting the sequence of stitches is something you’ll never get tired of seeing. All I ask is that you remember these little truths, and be kind to yourselves as you learn. Give yourself the space to play, test, try, fail, and repeat the process. I can’t wait to see what your vision can bring forth from our embroidery robot friends.
—–
![]() Erich Campbell is an award-winning machine embroidery digitizer and designer and a decorated apparel industry expert, frequently contributing articles and interviews to embroidery industry magazines such as Printwear, Stitches, and Wearable as well as a host of blogs, social media groups, and other industry resources.
Erich Campbell is an award-winning machine embroidery digitizer and designer and a decorated apparel industry expert, frequently contributing articles and interviews to embroidery industry magazines such as Printwear, Stitches, and Wearable as well as a host of blogs, social media groups, and other industry resources.
Erich is an evangelist for the craft, a stitch-obsessed embroidery believer, and firmly holds to constant, lifelong learning and the free exchange of technique and experience through conversations with his fellow embroiderers. A small collection of his original stock designs can be found at The Only Stitch


