Welcome to A Stitchalicious In Time where we share tips to help you elevate your stitching skills!
Although cross stitch is one of the “easy beginner” techniques, I’m spending today’s column on cross stitch tips and how up your xstitching game! Here’s the hit list:
- Use The Right Amount Of Floss
- Tension
- Railroading
- Fractional Stitches
- Back Stitch
- Give Linen A Shot
- Use Waste Canvas
I know it’s “simple” to make a picture in X’s, but that doesn’t mean there aren’t ways in which your cross stitch can be perfected. And to offer a little enticement to get to the end of this rather long post, I’ve included a small pattern at the bottom so you can test out those new skillz!
1. Use The Right Amount Of Floss
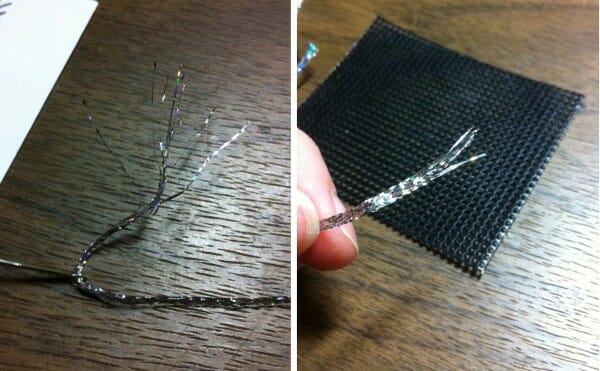
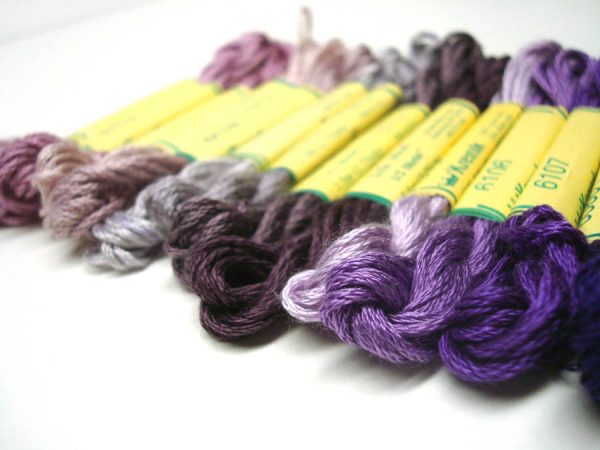
Okay, this is a very basic one – use the right amount of floss. Firstly, this means using the right number of strands to get coverage of the fabric – you don’t want to be able to see the fabric beneath the stitches and if you can you need to use one more strand in your needle.
Secondly, use the right length of floss – it should only be about the length of your forearm and hand. If you have too long a length it a) gets ratty before you’re finished with it by being constantly pulled through the fabric and b) takes ages to stitch as you have to extend your arm so far to pull the stitch tight. In a related note, finish your floss off before you get to the disgusting skinny, pulled out, licked end of it that you try and finagle for a few more stitches. Saving 3cm of thread just is not worth the hassle nor the shoddy appearance.
2. Tension
Tension in your stitching is by far the easiest thing to correct, especially if you’re using a hoop – pull tight but not so tight that you stretch the hole at all. If you stitch in hand you have to be more careful.
I find that pulling the thread mostly through and then using my little finger in the hand holding the needle to “flick” the tail the final bit gives perfect tension and is reproducible for each stitch. Pay attention to the tension you’re applying as, if you stitch in different directions or do “patches” of stitching over the piece, you’ll pull it in weird directions.
Washing and blocking the finished piece will help even it out if you’ve been a bit lax though!
3. Railroading
Railroading means you try and get both floss threads to lie parallel. This is one of those cross stitch tips that will elevate your work to a more competition standard! The easiest way to railroad is to use another large needle to hold underneath them as you’re pulling the stitch tight.
If you like specialist gear you can get a laying tool – effectively a large needle.
4. Fractional Stitches
Now, I’ve nothing against complete crosses, but sometimes it’s nice to be able to get a bit more detailed in a cross stitch you’re designing. Or you may have come across fractional stitches in a purchased pattern and aren’t sure what to do.
Dare to use these stitches in both your designing and your stitching and you’ll see what a difference it can make.
The deal with fractional stitches (also called half stitches) is that, almost always, it is actually a ¾ stitch and a ¼ stitch (see picture below). How it should be split (which colour gets ¾, which ¼) is usually left up to you.
In most cases, I go by gut judgement on which colour “deserves” the ¾ more. Is it a small detail fragment against a background colour? Give the 3/4 to the detail. The one place when you can potentially make it really half stitches and balance them out is when there’s a backstitch running across the middle, however that usually isn’t great for keeping overall thread coverage even.
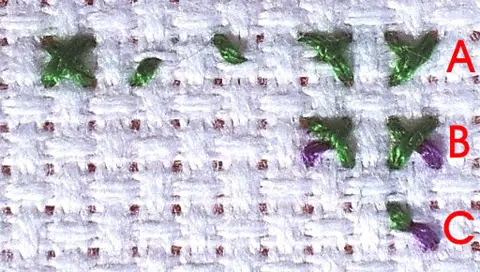
B. Showing a complete cross with the two fractional stitches in different halves.
C. Two 1/4 stitches, where a backstitch could be used to divide them.
5. Back Stitch
Backstitch is one of those weird little stitches for me. Save working it for last, as you can seriously pull it out of whack if you try doing it as you’re going. Often when I finish all the cross stitches, I wind up liking it so much that I’m not sure the backstitching will add anything to it – usually I’m wrong.
Backstitch is a two-step forwards, one-step back stitch – you travel forward underneath the fabric and make the stitch on top of the fabric go backward. Then you travel forwards to the front of the next stitch underneath. You’re probably tempted, as I am, to mix back stitch with running stitch just to save time and threads (doing every second stitch forwards).
WITHSTAND THE TEMPTATION (sorry for the all caps – I’m on a diet). Doing so gives your lines a dash-like appearance. Backstitch all the way – it can be tedious, but it really does look better.
6. Give Linen A Shot
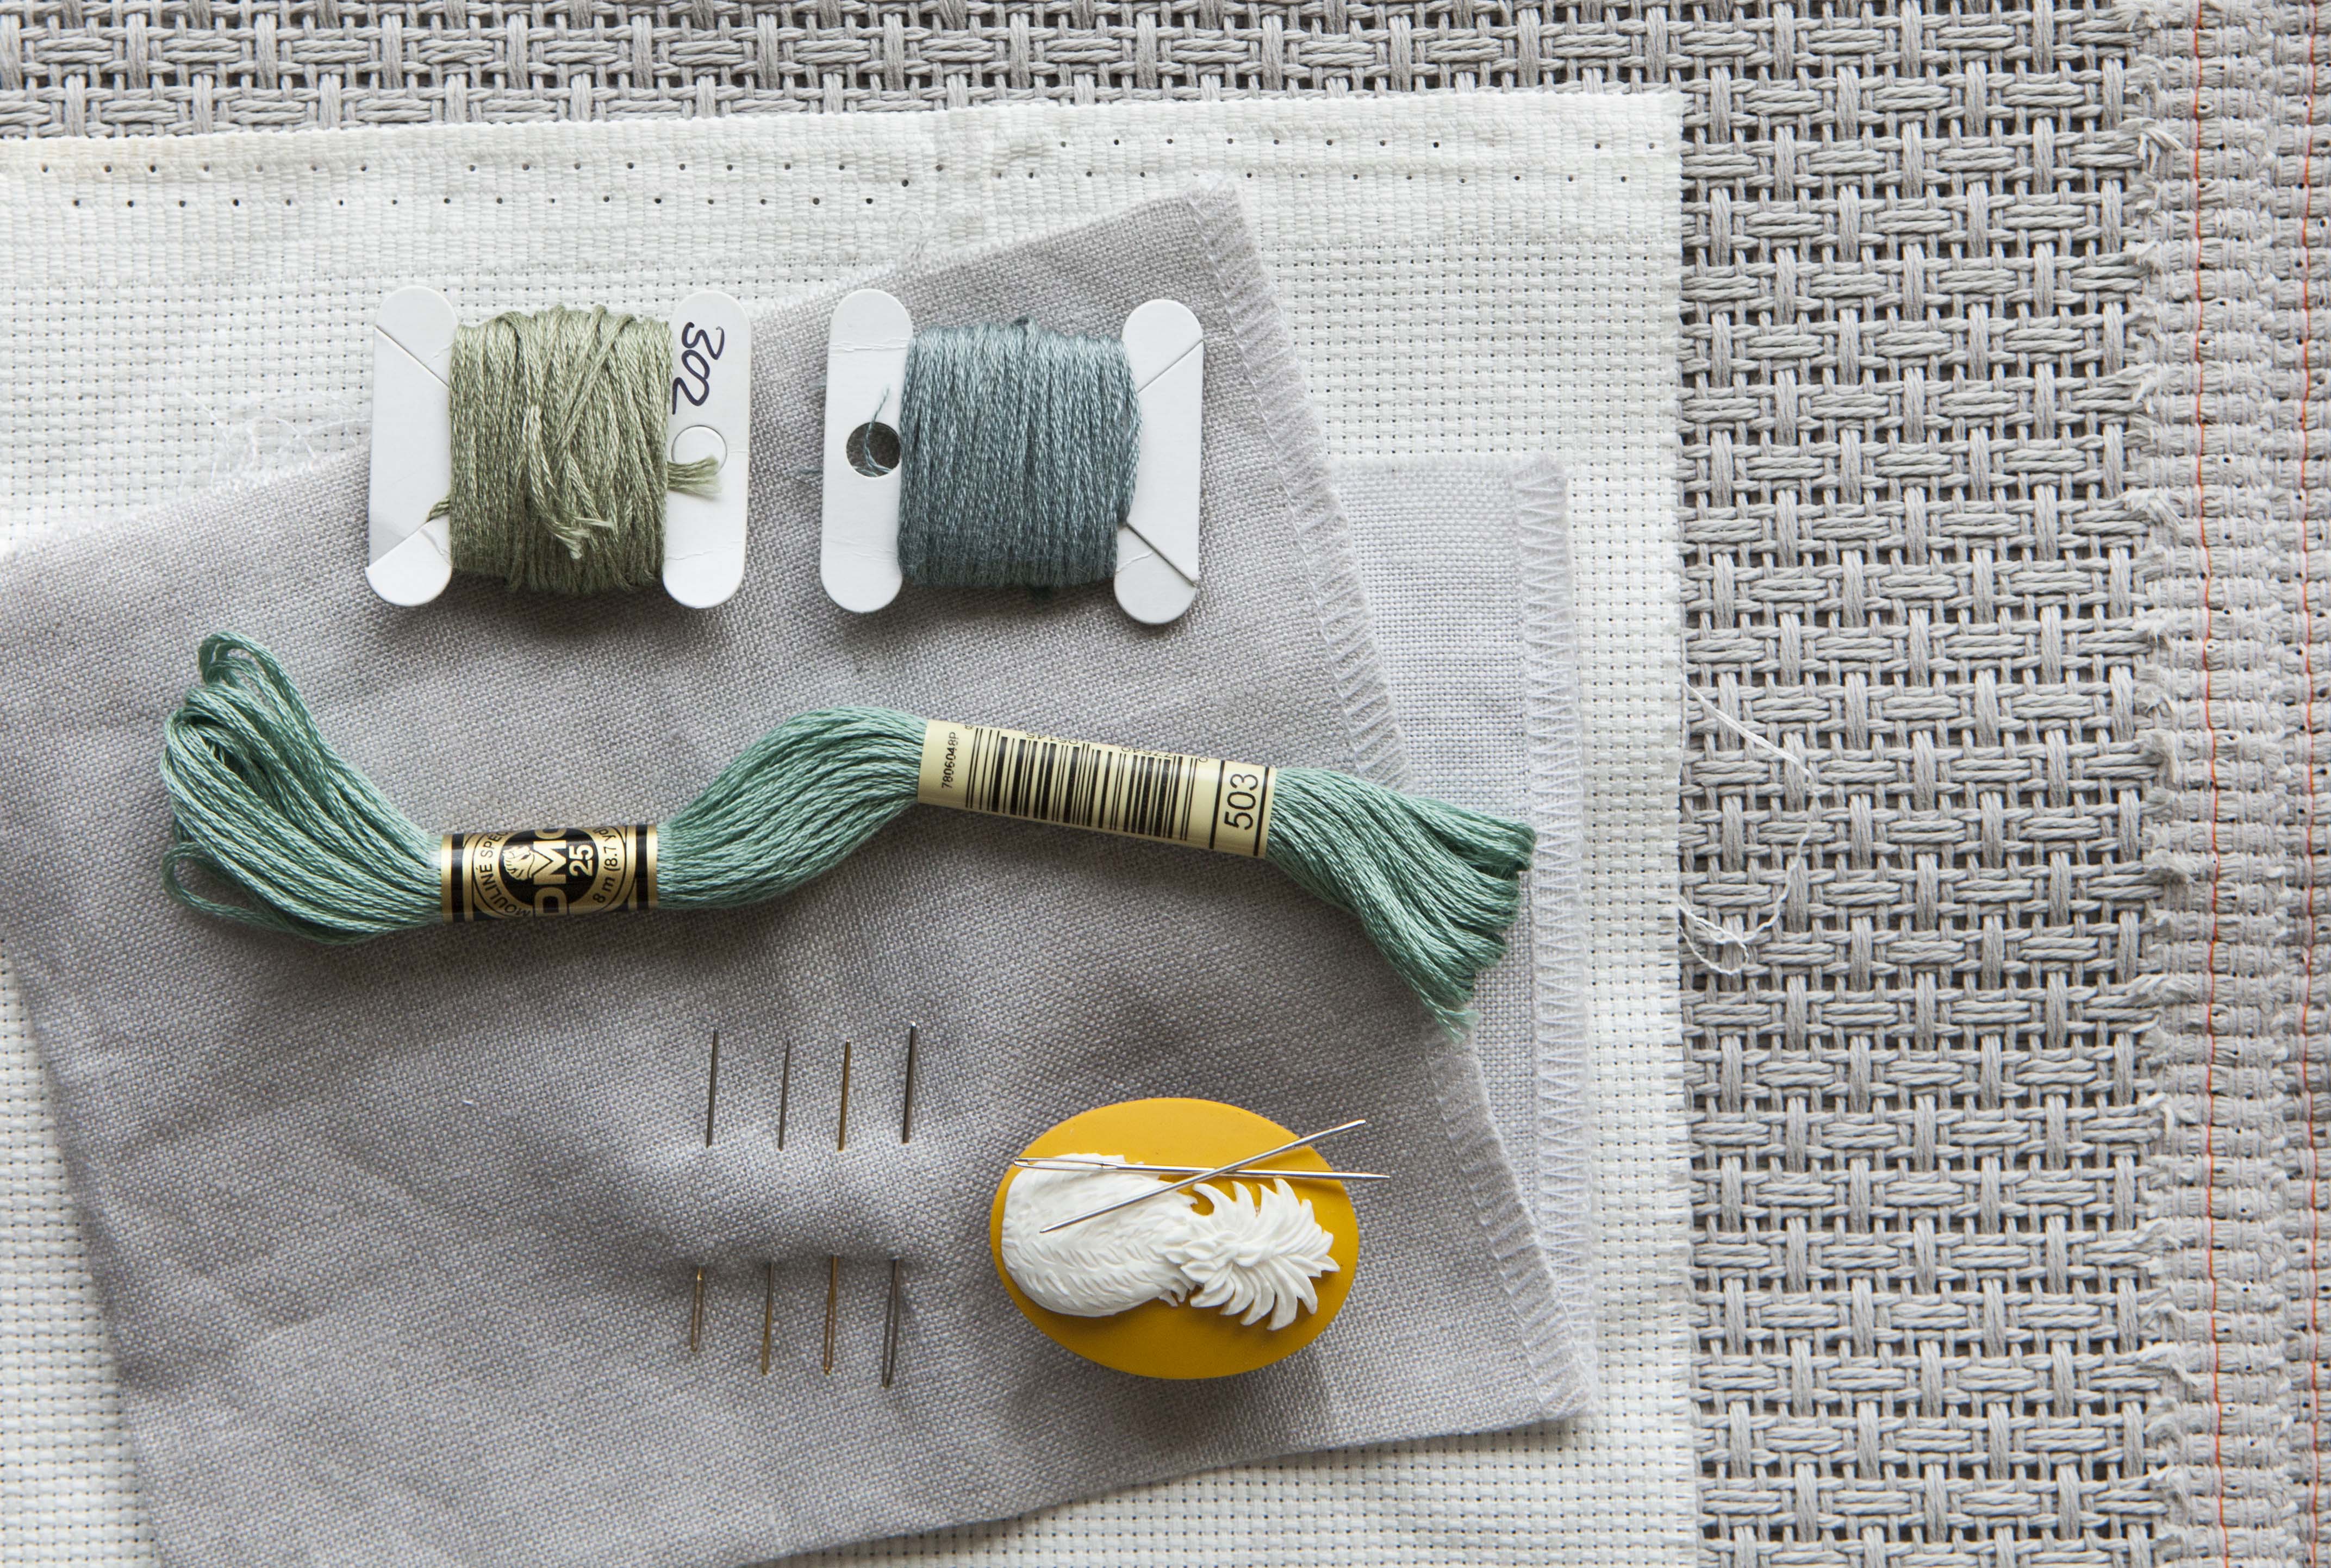
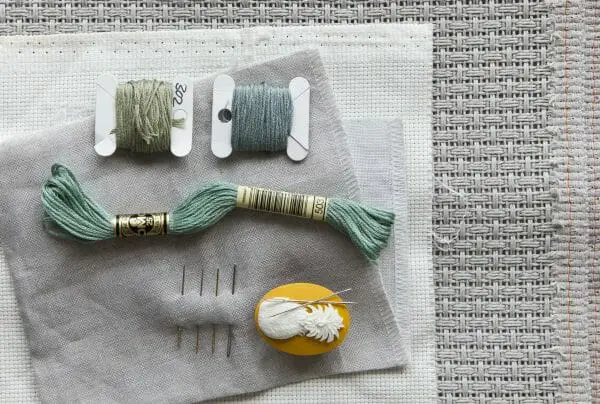
No collection of cross stitch tips would be complete without a look at the materials you stitch on! Fabric choice for cross stitch usually comes down to Aida or linen but do not be fooled. The world is your oyster thanks to a wonderful little thing called Waste Canvas. But first, lets get Aida and linen out of the way.
- Aida is the beginners fabric of choice, having nifty little holes making perfect little squares. You can start with a large count (e.g. 12 stitches per inch) but I’d use three strands of floss for good coverage. Go down to a 14 or 16 to make your work finer (and smaller). Use two strands for those.
- Linen comes in two general types: evenweave and, well, linen.
- Evenweave is – surprise, surprise – even, while in linen the threads making up the fabric vary in size and sometimes have big lumps (slubs). Evenweave is easier for linen n00bs and gives very even stitches, while linen throws in a bit of variety to the stitch size.
To stitch on linen, you normally stitch “over two” meaning making the cross over two threads in the fabric. An easy way to do this quickly is to learn to look for the leading strand. This is where one of the vertical threads goes over the horizontal one. If you always stitch with that on the upper right of the hole you’re using, you’ll find your eye naturally slips to the right spot without having to count the two threads. Also, stitching there stops your floss from slipping under the weft. The marvellous Connie G. Barwick describes it in her guide to stitching on linen.
7. Use Waste Canvas
Waste Canvas is a nifty little invention is a canvas the pulls apart when you’re finished with it, so you can lay it over whatever fabric you’d like and do perfect cross stitch with it. When you’re done soak it in water and the canvas threads separate and you can pull them out.
- Hint: use tweezers to pull them out as it can be really tough on your fingers.
- Double Hint: cross stitching on denim using waste canvas looks great, is hell on your fingers.
- Triple Hint: check out soluble canvas which achieves the same goal but you dissolve the fabric away in warm water!
Finally…
And now, so you can test out these cross stitch tips, as promised, your practice design: Kia Ora. Use whatever colours you like, but I’d suggest black or a dark brown for the square symbol and backstitching with a medium green, brown or blue for the circle symbol stitches. Or, hell, try hot pink. Do what works for you, but don’t forget to try and use the cross stitch tips we’ve talked about here and see how you get on! Happy stitching!

Want Some More Embroidery Tips?
If you like cross stitch and want more ideas and inspiration,
then The Mr X Stitch Guide to Cross Stitch is the book for you!
With modern designs, tips, techniques, artist interviews and more, it’s the Mr X Stitch’s
love letter to the stitch that got him started.
Get your signed copy from the XStitch Magazine shop!
