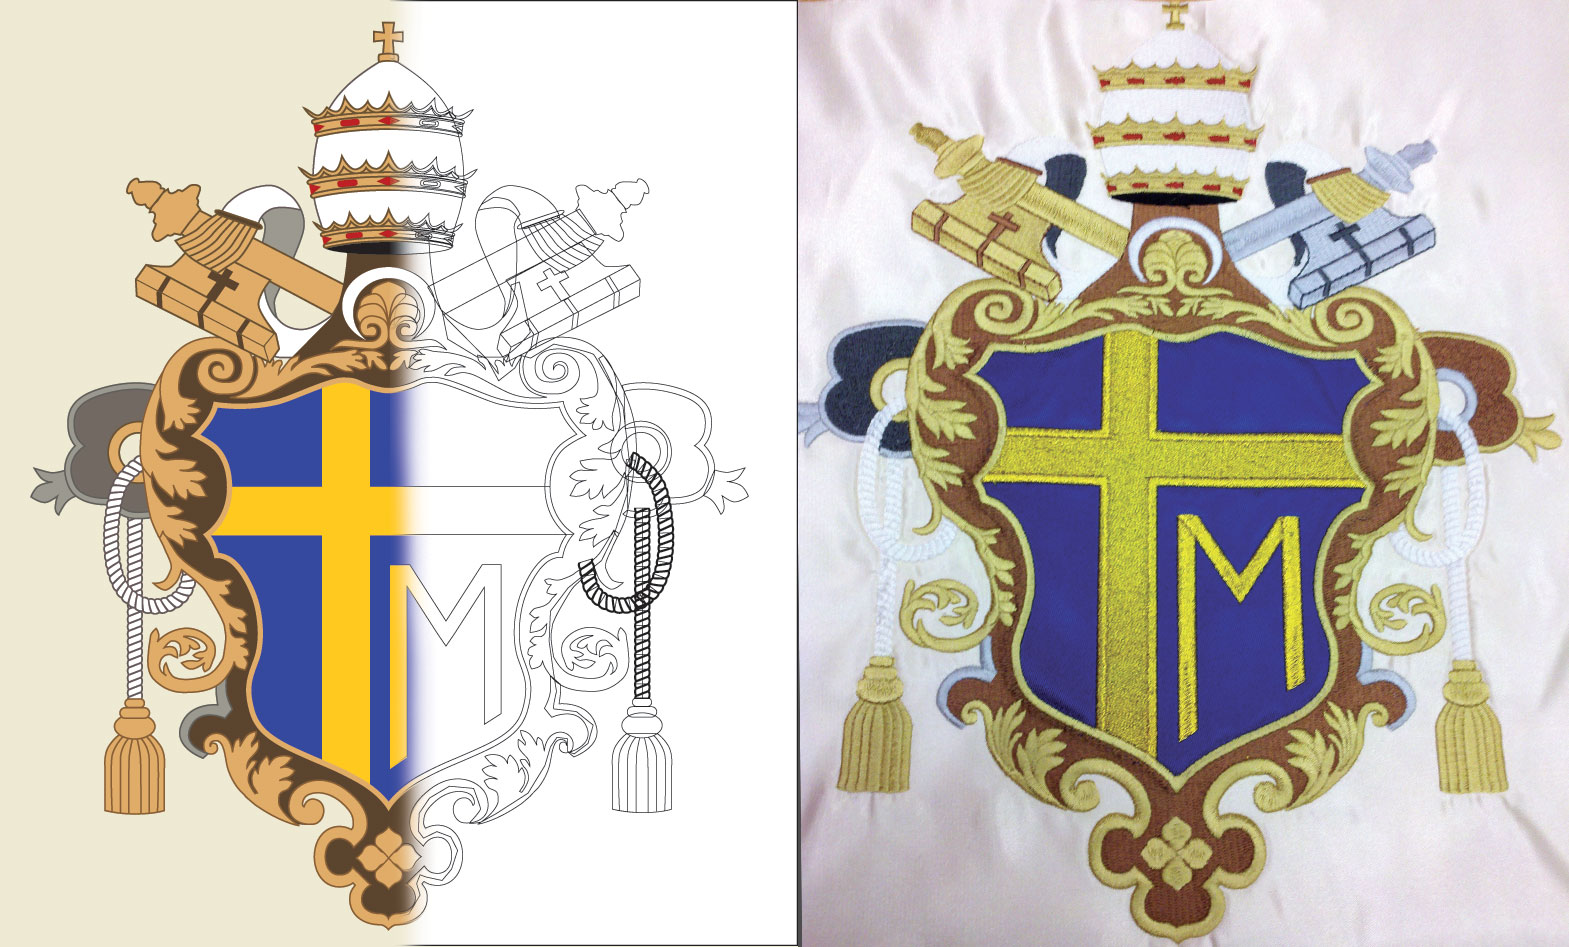
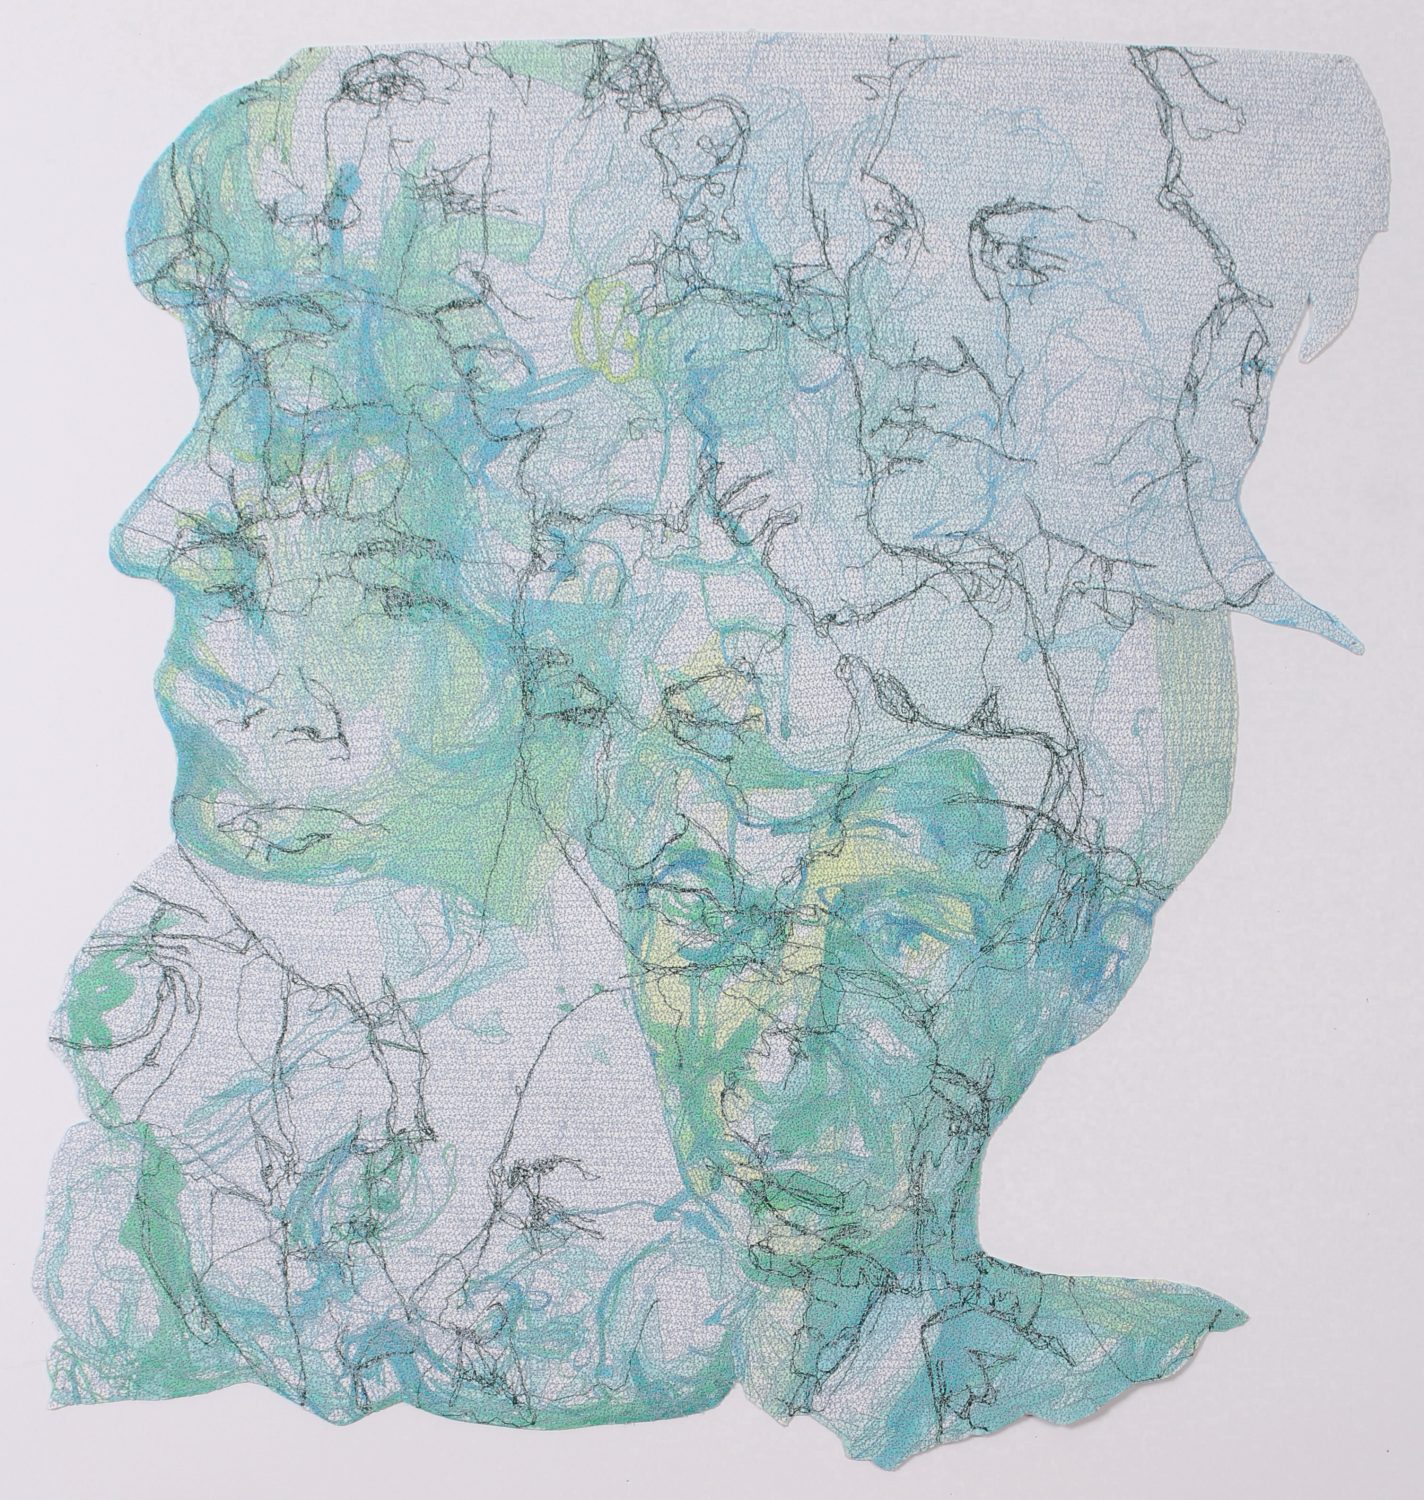
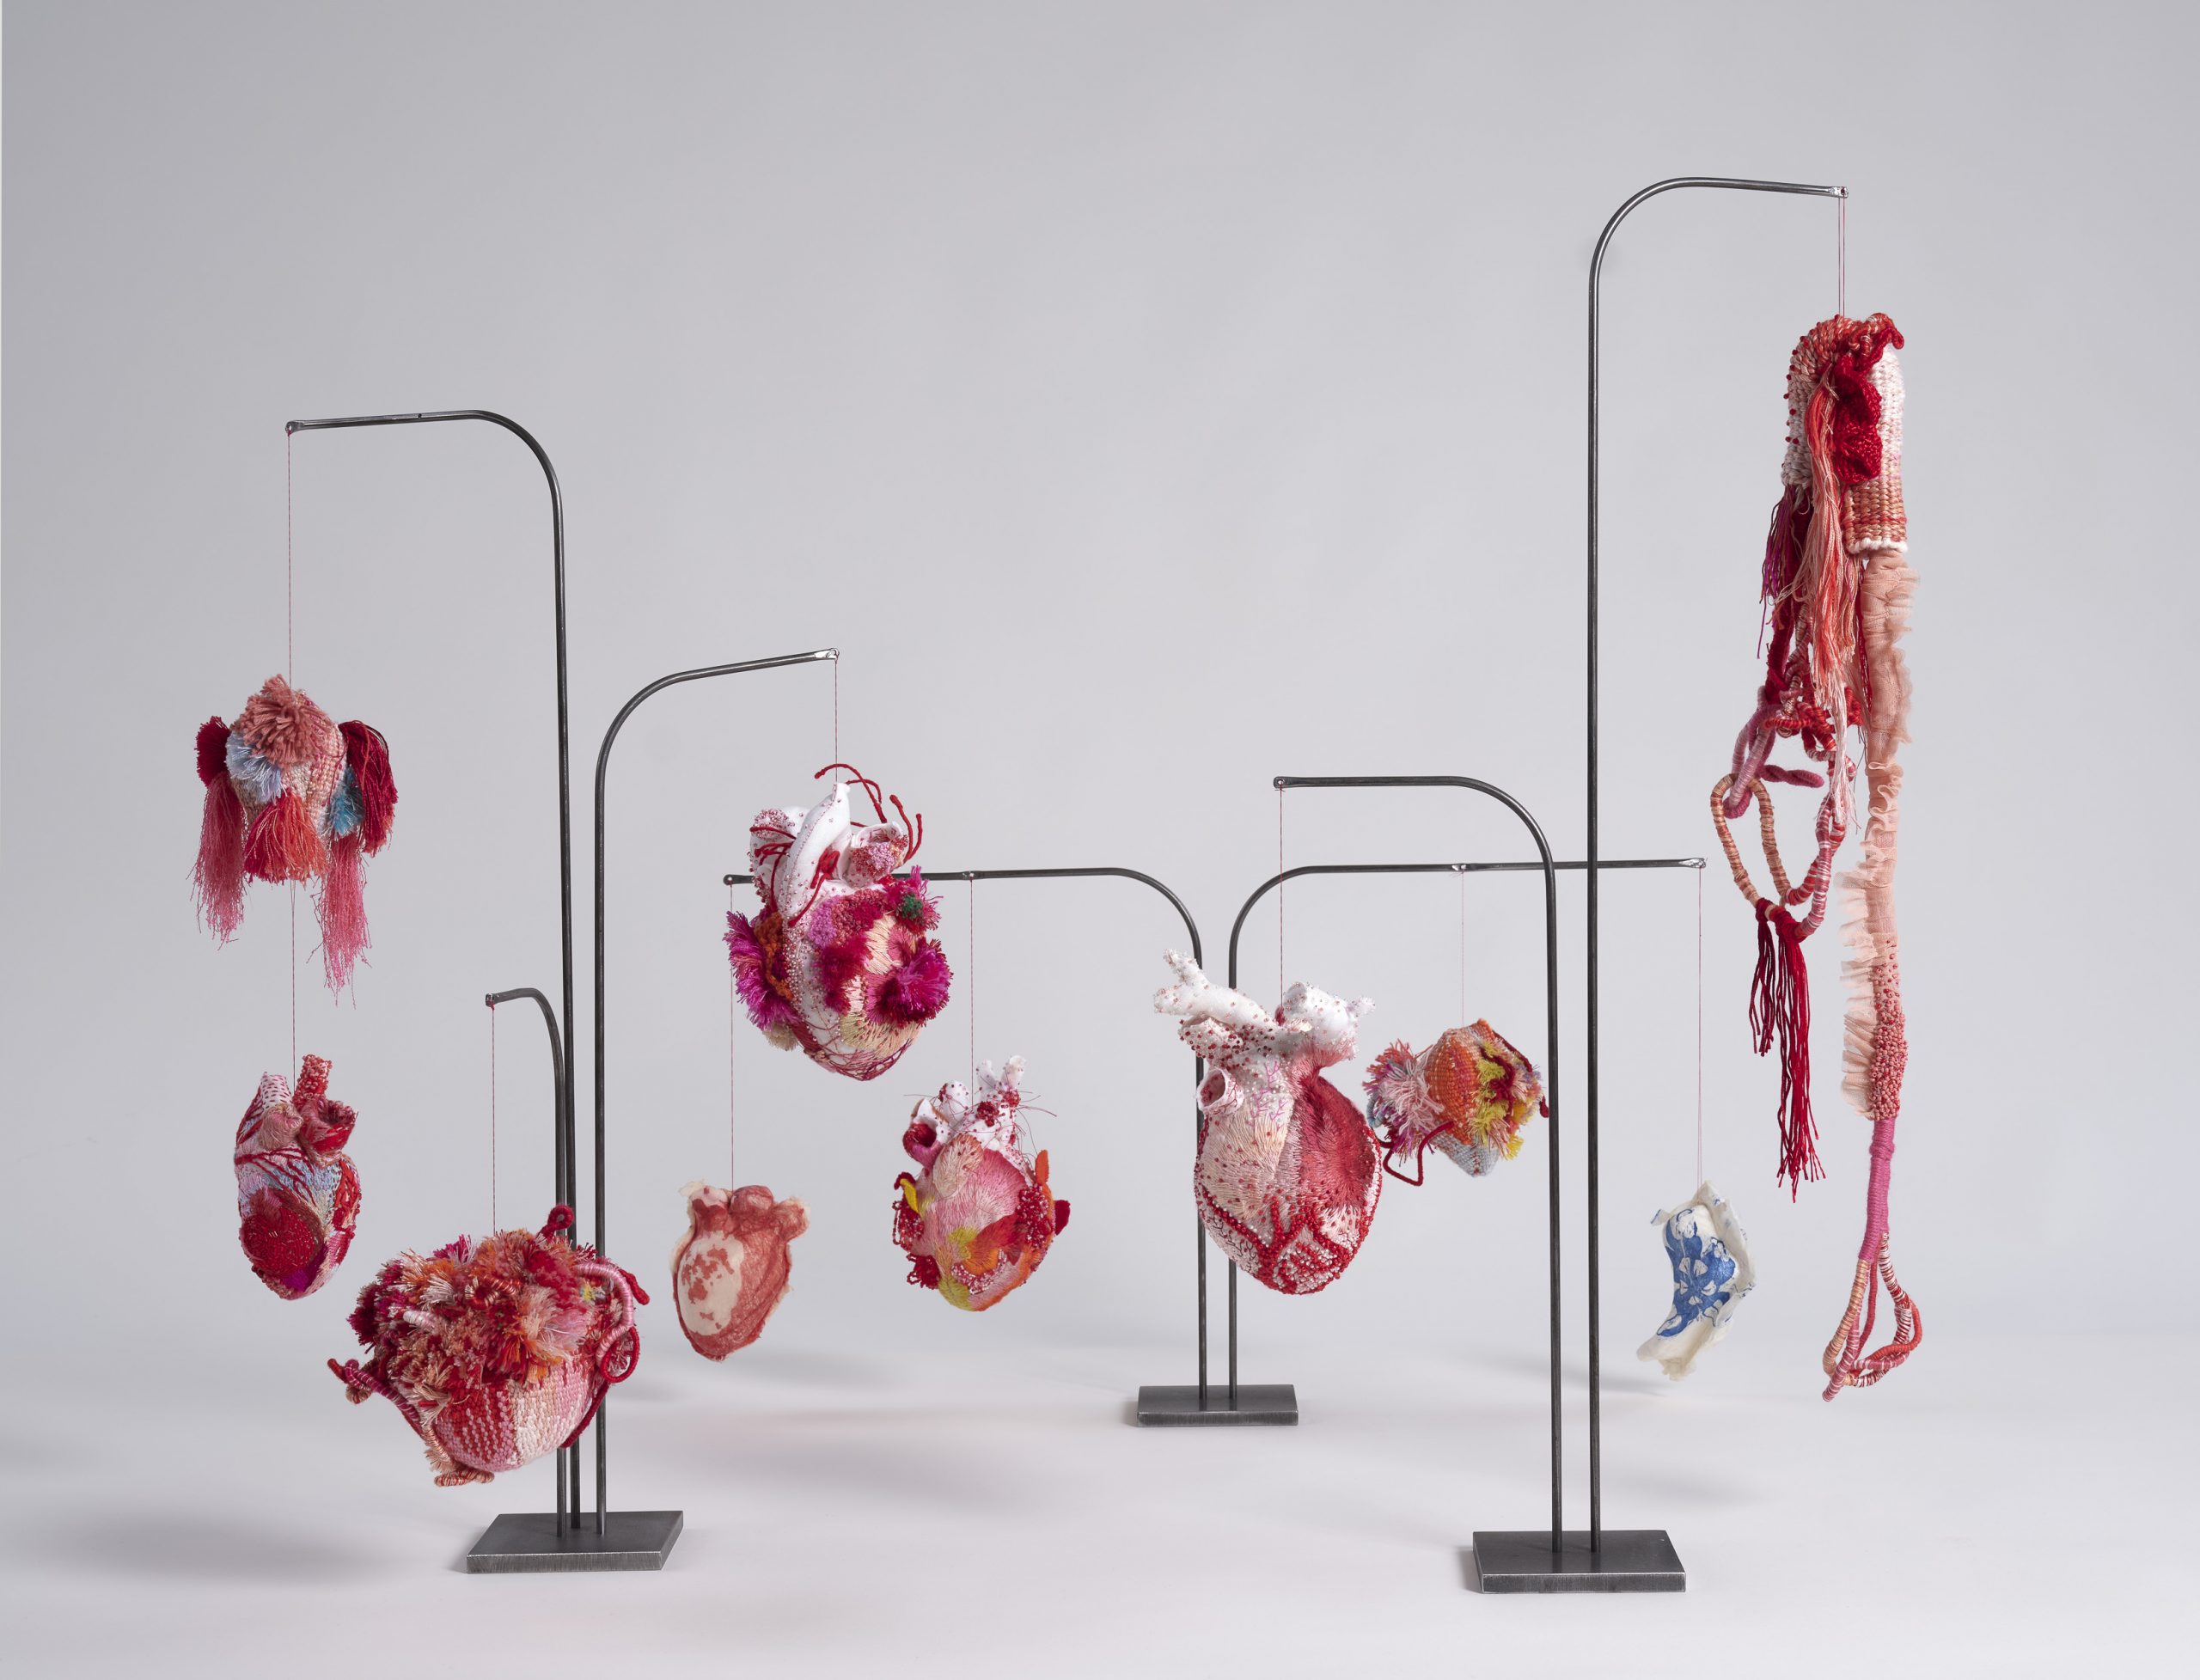
Digitizing Detailed Designs Demystified
Byzantine details, gradients, and tiny text can cause any digitizer to hesitate on a project. Complex art can evoke resistance or even dread and it’s easily understood; a sufficiently large and detailed piece may mean hours of unblinking effort in digitizing, often followed by equal hours sampling and ultimately the possibility of reworking a design if the run reveals flaws. Designs containing elements that aren’t immediately obvious in their execution require even more time as you tease out and test new techniques, increasing that feeling of risk and resistance.
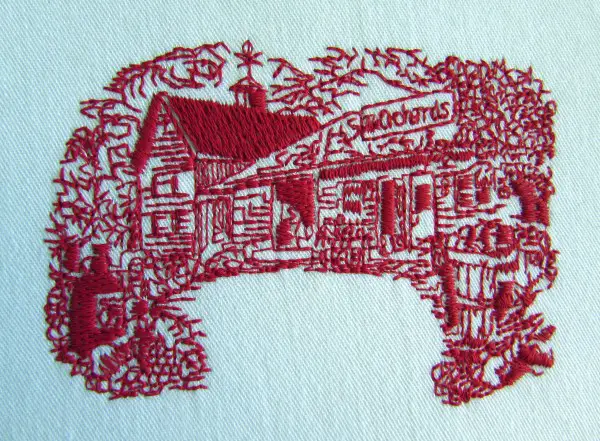
You might think that experienced digitizers are immune, but even my years of experience can’t stop a brief dip in determination when I see a seriously time-consuming piece, despite knowing I have built the skill-set to see it through. The special quality of those who choose take on these designs isn’t necessarily skill, knowledge, or even fearless abandon; if you can control the basic elements of machine embroidery, you can learn to make difficult pieces on that foundation. Ready acceptance of these difficult projects comes from a studied rational approach that has you to analyze, parse, and take repeated small actions toward the completion of a design despite internal resistance. With a step-by-step approach, we can overcome reluctance and make progress on any project, no matter how incredibly difficult it may seem.

Step 1: Analysis
Take time to examine the design, imagining the stitched surface of the end product. You’ll make most of your core decisions here- How many and which colors to use, if you’ll use applique or other specialty materials, where the design and its individual elements need to start and finish, what details must be altered, removed or replaced. Identify the most important parts of the design to your desired effect and prioritize them, identify what can be changed and what won’t be missed. Take notes and be as free with ideas as you can. In this initial stage, everything is fluid; you can and should thoroughly explore your options.
1a: Define Obstacles and Opportunities.
Take note of any obstacles- areas with difficult gradients, overly-dense detail, small elements that won’t stitch cleanly, elements likely to distort, thin outlines requiring tight registration, etc. Then, list ‘opportunities’ areas that might be simplified or executed with applique to cut down on excess density, areas where specialty materials can be used to create textural effects or to do some of the heavy lifting that would otherwise require difficult stitching, areas of symmetry or repeated elements in a design that can be digitized once and re-used, small text that can upscaled or eliminated, details that can be hinted at rather than painstakingly rendered, anything that simplifies the process without damaging the essence of the piece.

1b: Build a Store of Solutions
With obstacles defined, you can now match them with solutions. Look up a previous file where you executed a challenging detail similar to ones found in the current design, look at designs that achieve the look you want for your piece from other digitizers, build your arsenal of ideas and techniques that address the obstacles you expect to encounter. You’ll also be building your confidence to get started and stay motivated- just limit your time looking for inspiration; it’s easy to fall into ‘paralysis by analysis’ and spend hours searching when experimentation may be the best course of action.
1c: Parse the Design
Breaking difficult designs into workable pieces makes them feel more manageable. This means you only need to convince your resistant mind to work on a smaller element rather than visualizing the entire finished project. Parsing also provides natural breaks and a way to easily gauge your progress as you work.
Visualize the stitching sequence your design needs for efficient sewing and proper overlapping for dimension. Earlier analysis should have revealed areas requiring extra attention, such as those that need tight registration, special treatment as far as color order in certain types of shading, or perhaps those that through symmetry or repetition in the design can be re-used. This extensive analysis helps you break your design into ‘sub-designs’.
Designs that feature symmetry or repetition parse easily. An entirely symmetrical design can sometimes be created by executing one half, mirroring and resequencing the results and repeated elements can be copied and placed, after which you can condense the number of color changes by placing each color together in the sequence and digitizing connecting stitches between elements once the original element has been copied and placed in each repeat location.
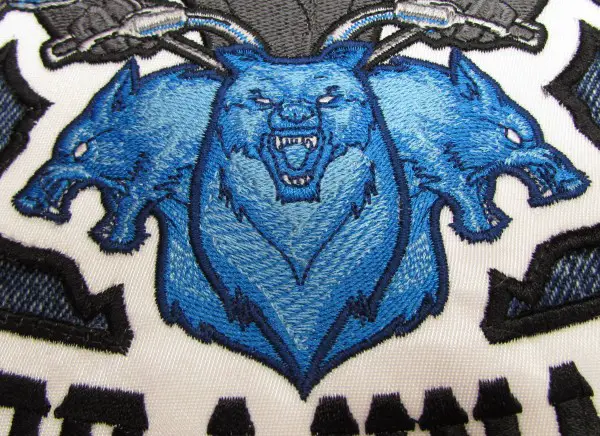
Sub-designs can be functional as well as good for morale. For instance, an area of fine outlining on filled elements can be completed contiguously as a ‘sub-design’ before moving on to ensure proper registration. Though less efficient than keeping each color to a single color break, you have a higher likelihood of losing registration the longer and physically further away you stitch in the design between fill and outline, especially on unstable materials; creating a sub-design can help an area stay stable, especially on larger embroideries.

Step 2: Execution
After all that analysis, this shouldn’t be difficult as much as tiring. The hardest part is maintaining your focus during long sessions, but with most decisions made, it’s easier to find your flow. You’ll find areas where earlier decisions must be altered, but new obstacles shouldn’t discourage you. Think of them as side-trips on your established road-map through the design. Save a backup version of your file, define the obstacle, match it to a solution, and plow forward. You can even experiment along the way; digitize throw-away elements to test theories, separate an element to edit and tweak it. Working digitally lets us save multiple versions of our file, allowing us to play with new solutions worry-free. Don’t be too tied to the work you’ve already done- toss an element if it’s necessary or return to an earlier version if you go astray.
Save often, take breaks when you reach the end of your sub-designs, and keep your overall sequence in mind as you work. Know that you will persevere so long as you keep moving forward.
2a: Replay and Revision
Before testing, use the ‘slow replay’ mode in your software to virtually run the design on-screen at a speed that allows you to see important transitions and to see the sewing sequence. When you see something amiss, make a note of it. After the replay, fix any problems and replay again. When you’re satisfied that everything is as it should be, watch the replay one last time. When in doubt, replay, edit, and repeat. It’s far better to catch flaws now than half-way into your initial run.
2b: Stitch and Evaluate
If anything’s worse than ‘wasting’ time on a test-run, it’s wasting expensive/rare materials/garments *and* your run time. Always test your design on materials analogous to the intended ground- color, fiber, weave, and stabilizer should match as much as possible to the piece you’ll be stitching. This way you can be sure of your eventual results.
Now Do it Again
With repetition comes experience, knowledge, and confidence. Each difficult design brings the lessons you need to prepare for the next. Every design done is more proof for your resistant mind of your capacity to complete the task at hand. Remember that it all starts with one stitch: one stitch, one design, one collection, one portfolio, one legacy- one step at a time.
–—
![]() Erich Campbell is an award-winning machine embroidery digitizer and designer and a decorated apparel industry expert, frequently contributing articles and interviews to embroidery industry magazines such as Stitches and Printwear as well as a host of blogs, social media groups, and other industry resources.
Erich Campbell is an award-winning machine embroidery digitizer and designer and a decorated apparel industry expert, frequently contributing articles and interviews to embroidery industry magazines such as Stitches and Printwear as well as a host of blogs, social media groups, and other industry resources.
Erich is an evangelist for the craft, a stitch-obsessed embroidery believer, and firmly holds to constant, lifelong learning and the free exchange of technique and experience through conversations with his fellow stitch-workers. A small collection of his original stock designs can be found at The Only Stitch

