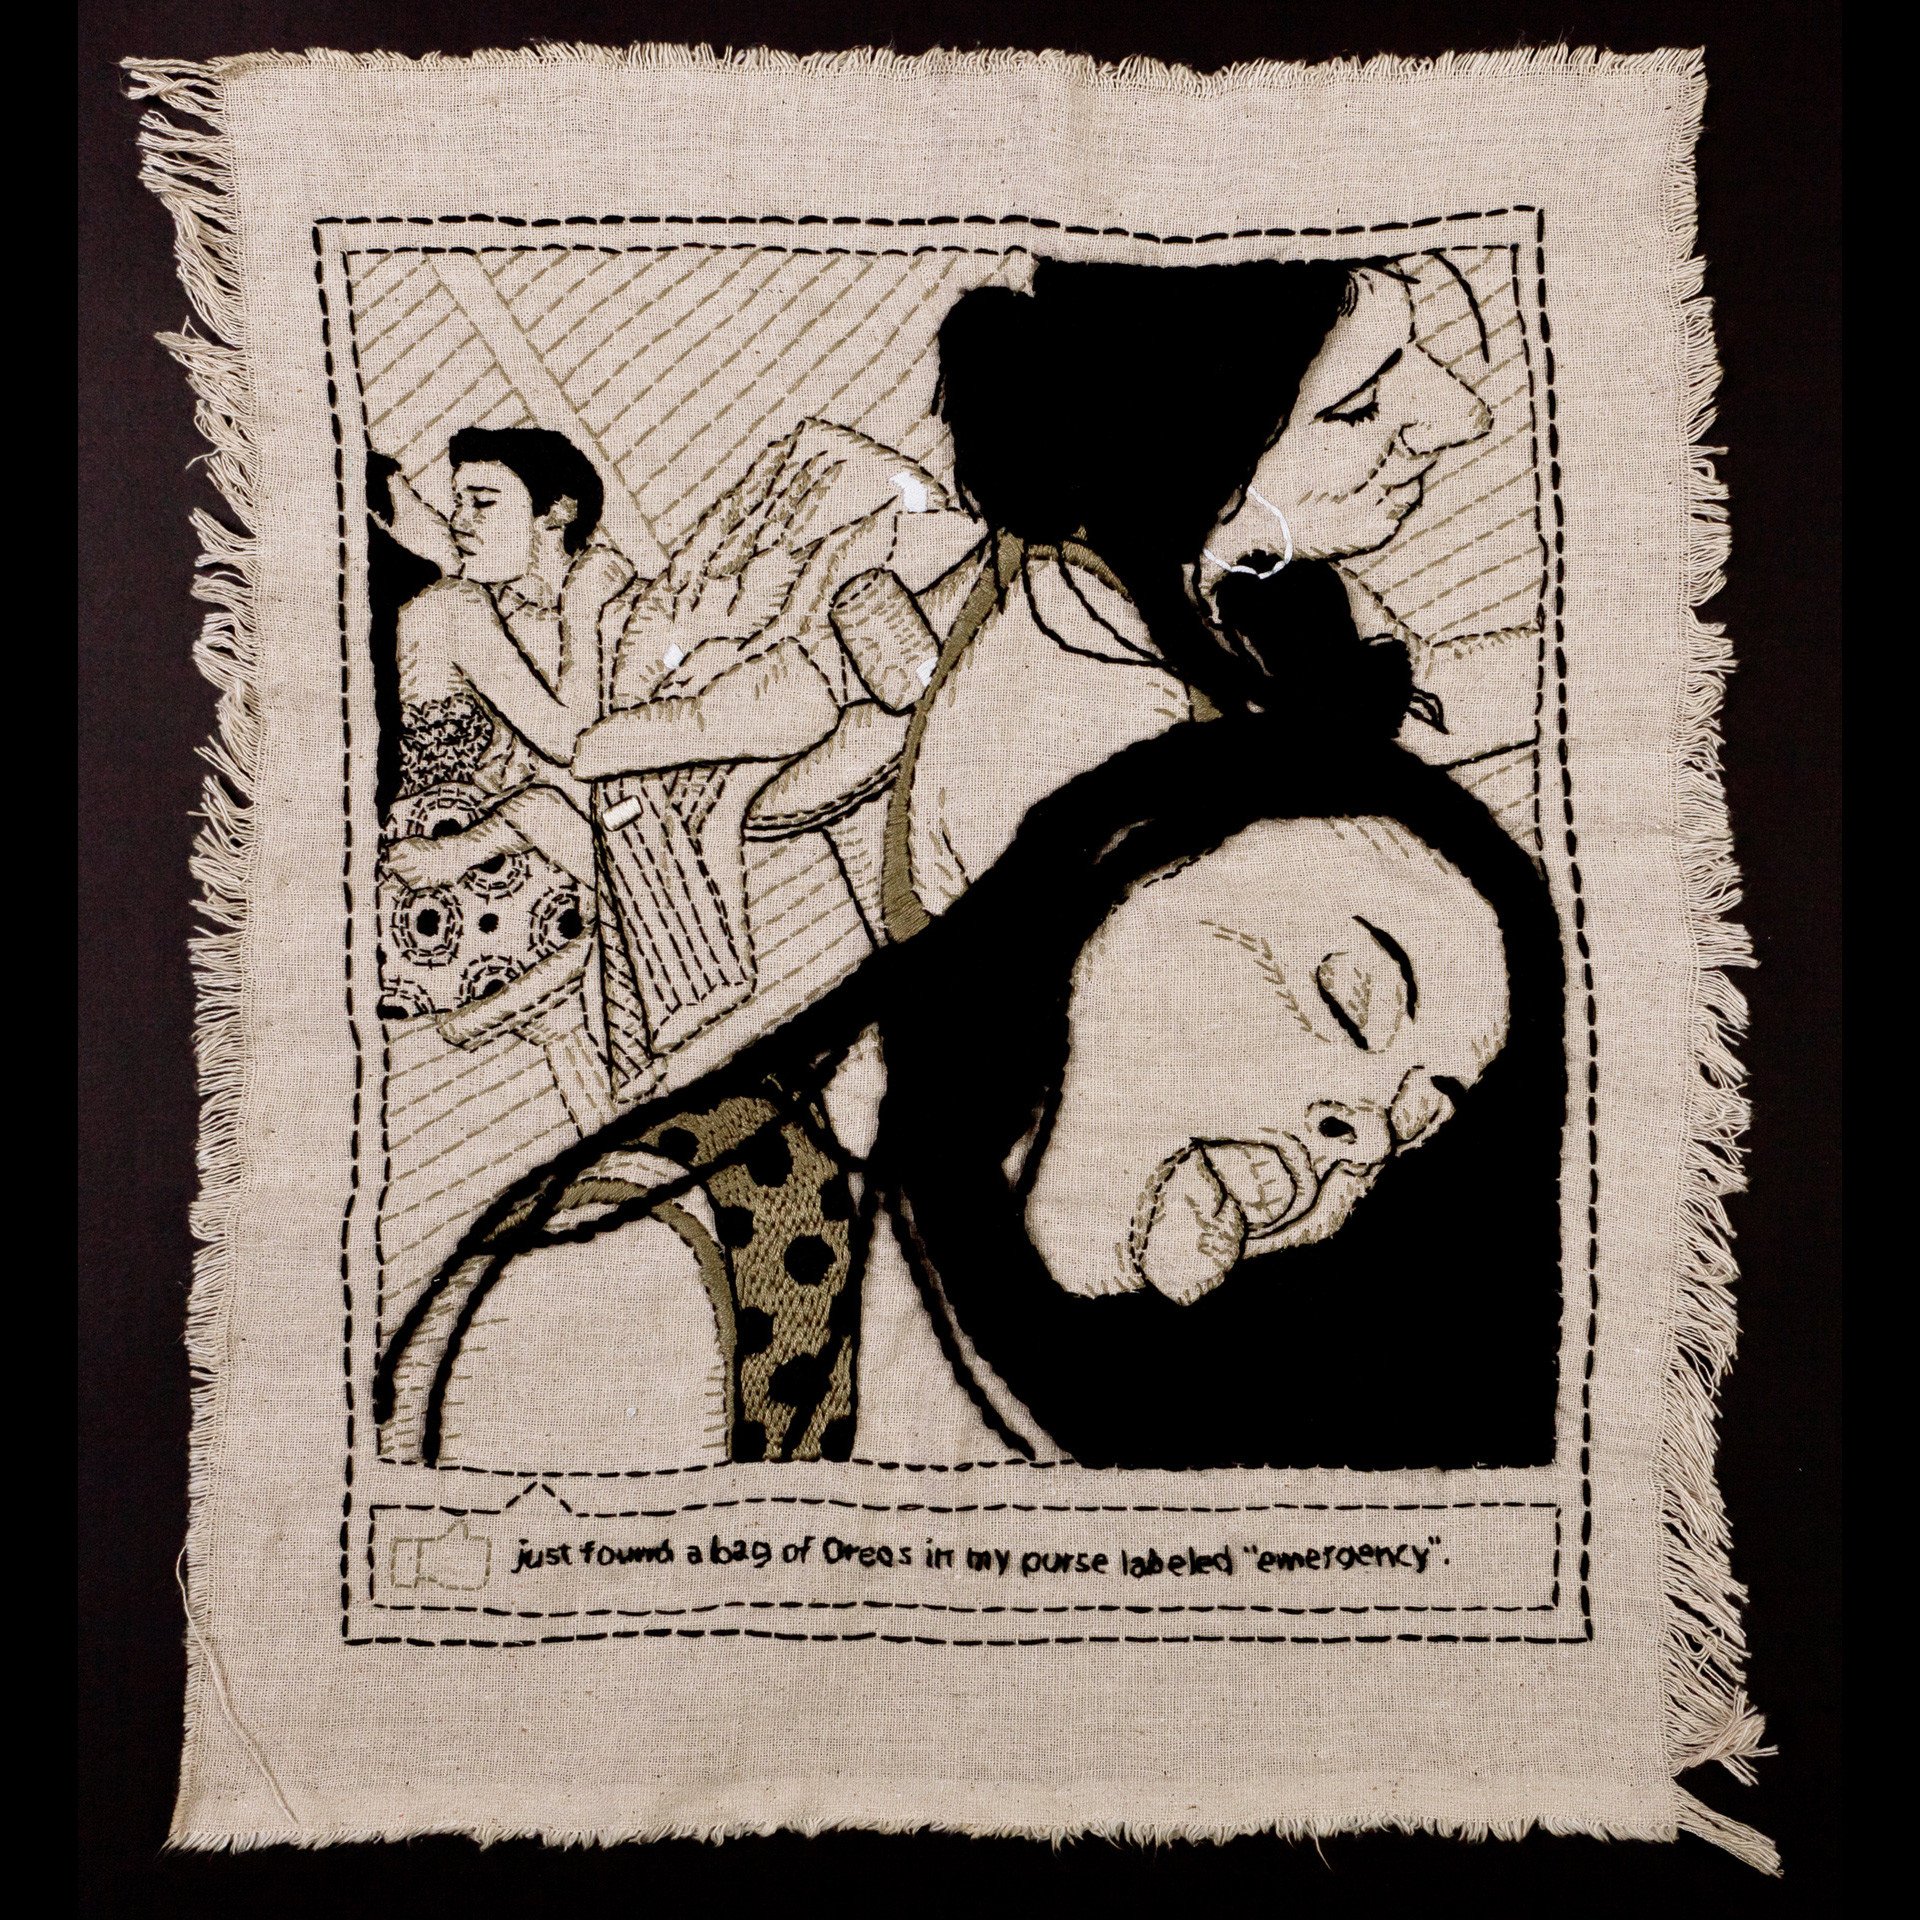

Welcome to A Stitchalicious In Time where we share tips to help you elevate your stitching skills!
This month I’ve been thinking a lot about filling stitches, specifically Satin Stitch, Long Stitch and Short Stitch. These are pretty much the go-to stitches for making up slabs of colour on your stitching but today I’d like to see if we can bring a bit more of that smooth perfection to it.
Here are my top tips to improve your filling stitches:
- Use less strands at once when stitching.
- Stitch in the same direction where possible.
- Plan your stitching path in advance.
- Consider using a laying tool.
- Use long and short stitches to blend colour.
With a small amount of care and preparation, you really can elevate your stitching and take great pleasure in the quality of your results, so let me explain further.
Stop Using The Full Six Strands Of Floss
When using stranded thread, using ONE strand is the way to go for getting great looking satin stitch. I occasionally cheat and use two, but then you have to use another needle or laying tool to flatten it out by running it under each stitch as you do it. It makes the biggest difference and you can suddenly produce stitching that looks like, well, satin.
The piece below, a study in Japanese embroidery by Carol-Anne Conway on Flickr is in silk but shows just what kind of beauty you can get when taking a little more time.

If you’re frightened that will take too long (admittedly it isn’t an ultra-fast process) consider trying thicker thread, like a perle or even wool. They’ll cover faster with a single strand.
Always Stitch In The Same Direction.
In effect you end up doing a big circle – up through the fabric, across, down, back across on the back and up again. In an effort to save thread in my poor broke student days of yore I would come up next to where I’d just finished the previous stitch and stitch back in the other direction. This is useless for several reasons, but the most important is that floss has a twist in it. You want all the stitches to run in the same direction so the twist can pick up the light and reflect it smoothly. Saving 50 cents worth of floss on a piece you’re putting in hours and hours of work is just not worth it.
Thirdly, plan your path. If you’re using filling stitches on a flat area think about what angle the stitches should be at and sketch that onto the fabric. It’s really easy to start going off true and by the end of the segment you’re thirty degrees off from the starting stitches. If you want to move around a curve, sketch that in too so you get the perfect sweep along the shape.

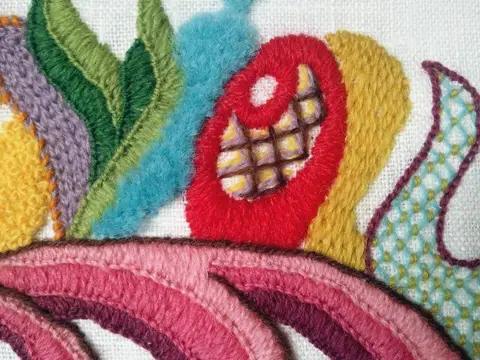
Thread Painting With Long And Short Stitch
Oh do I suck at this. I suck so much at it that I take a negative hit to my stitching skillz every time I try and do it. Yeah I know, practice, practice, practice. I’m doing it okay? One day I’ll defeat this.
Long and short stitch is exactly what the name implies – stitches of different lengths that you use to blend various shades across a surface. But not in any old random fashion: you keep to a certain direction or shape/curve when doing it.
I wish I was good enough to offer real advice on perfecting this technique but, as I established, I’m not. Instead I’m going to point you in the direction of one of the queens of thread painting, Trish Burr.

Trish has written several embroidery books which are a perfect place to start. If my experience is anything to go by, it’ll still take time to perfect. And just imagine what your tattoo/graffiti/zombie/retro stitching would look like if you could shade with that level of awesomeness.
What Other Filling Embroidery Types Are There?
If you don’t want to use Satin or Long Stitch to fill your embrodery, here are some quick, effective filling types, for example:
- Seed – a space with scattered short seed stitches. This will give the impression of colour without having solidly fill.
- Try a Couching or Lattice technique. By laying threads across the space and couching them down you can quickly cover the space with thread.
- Why not Applique? Okay, not strictly embroidery but tacking down bits of material is a perfectly legitimate way to create your slab of colour.

And now I’m off to attack thread painting again. One day I’ll master it, one day….
Want Some More Embroidery Tips?


Jacinta Lodge is the embroiderer behind Stitchalicious, and purveyor of graffiti cross stitch patterns via StitchaliciousDesign. Her embroidered artworks have been shown in exhibitions in Germany, the UK and Canada and published in The Anticraft and Indie Craft. Jacinta is Australian, but lives in Berlin, Germany, where she does roller derby and listens to her husband hark on and on about VW buses.