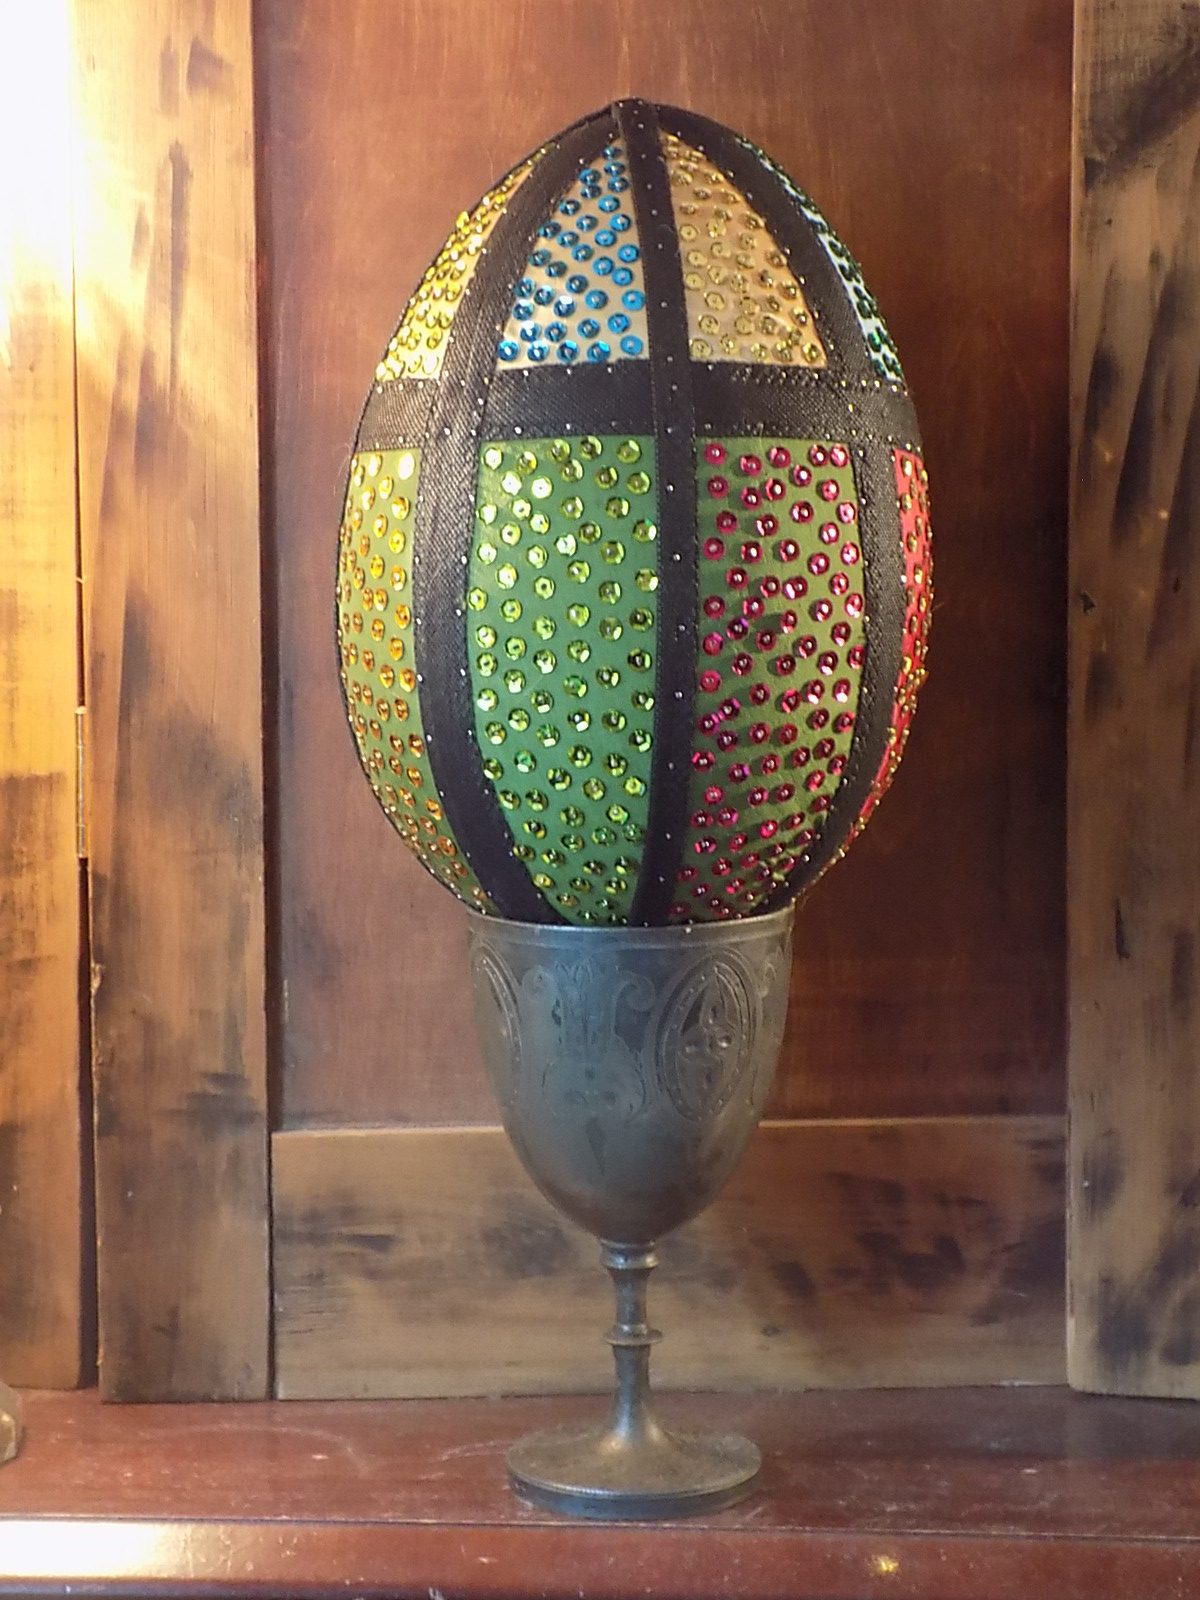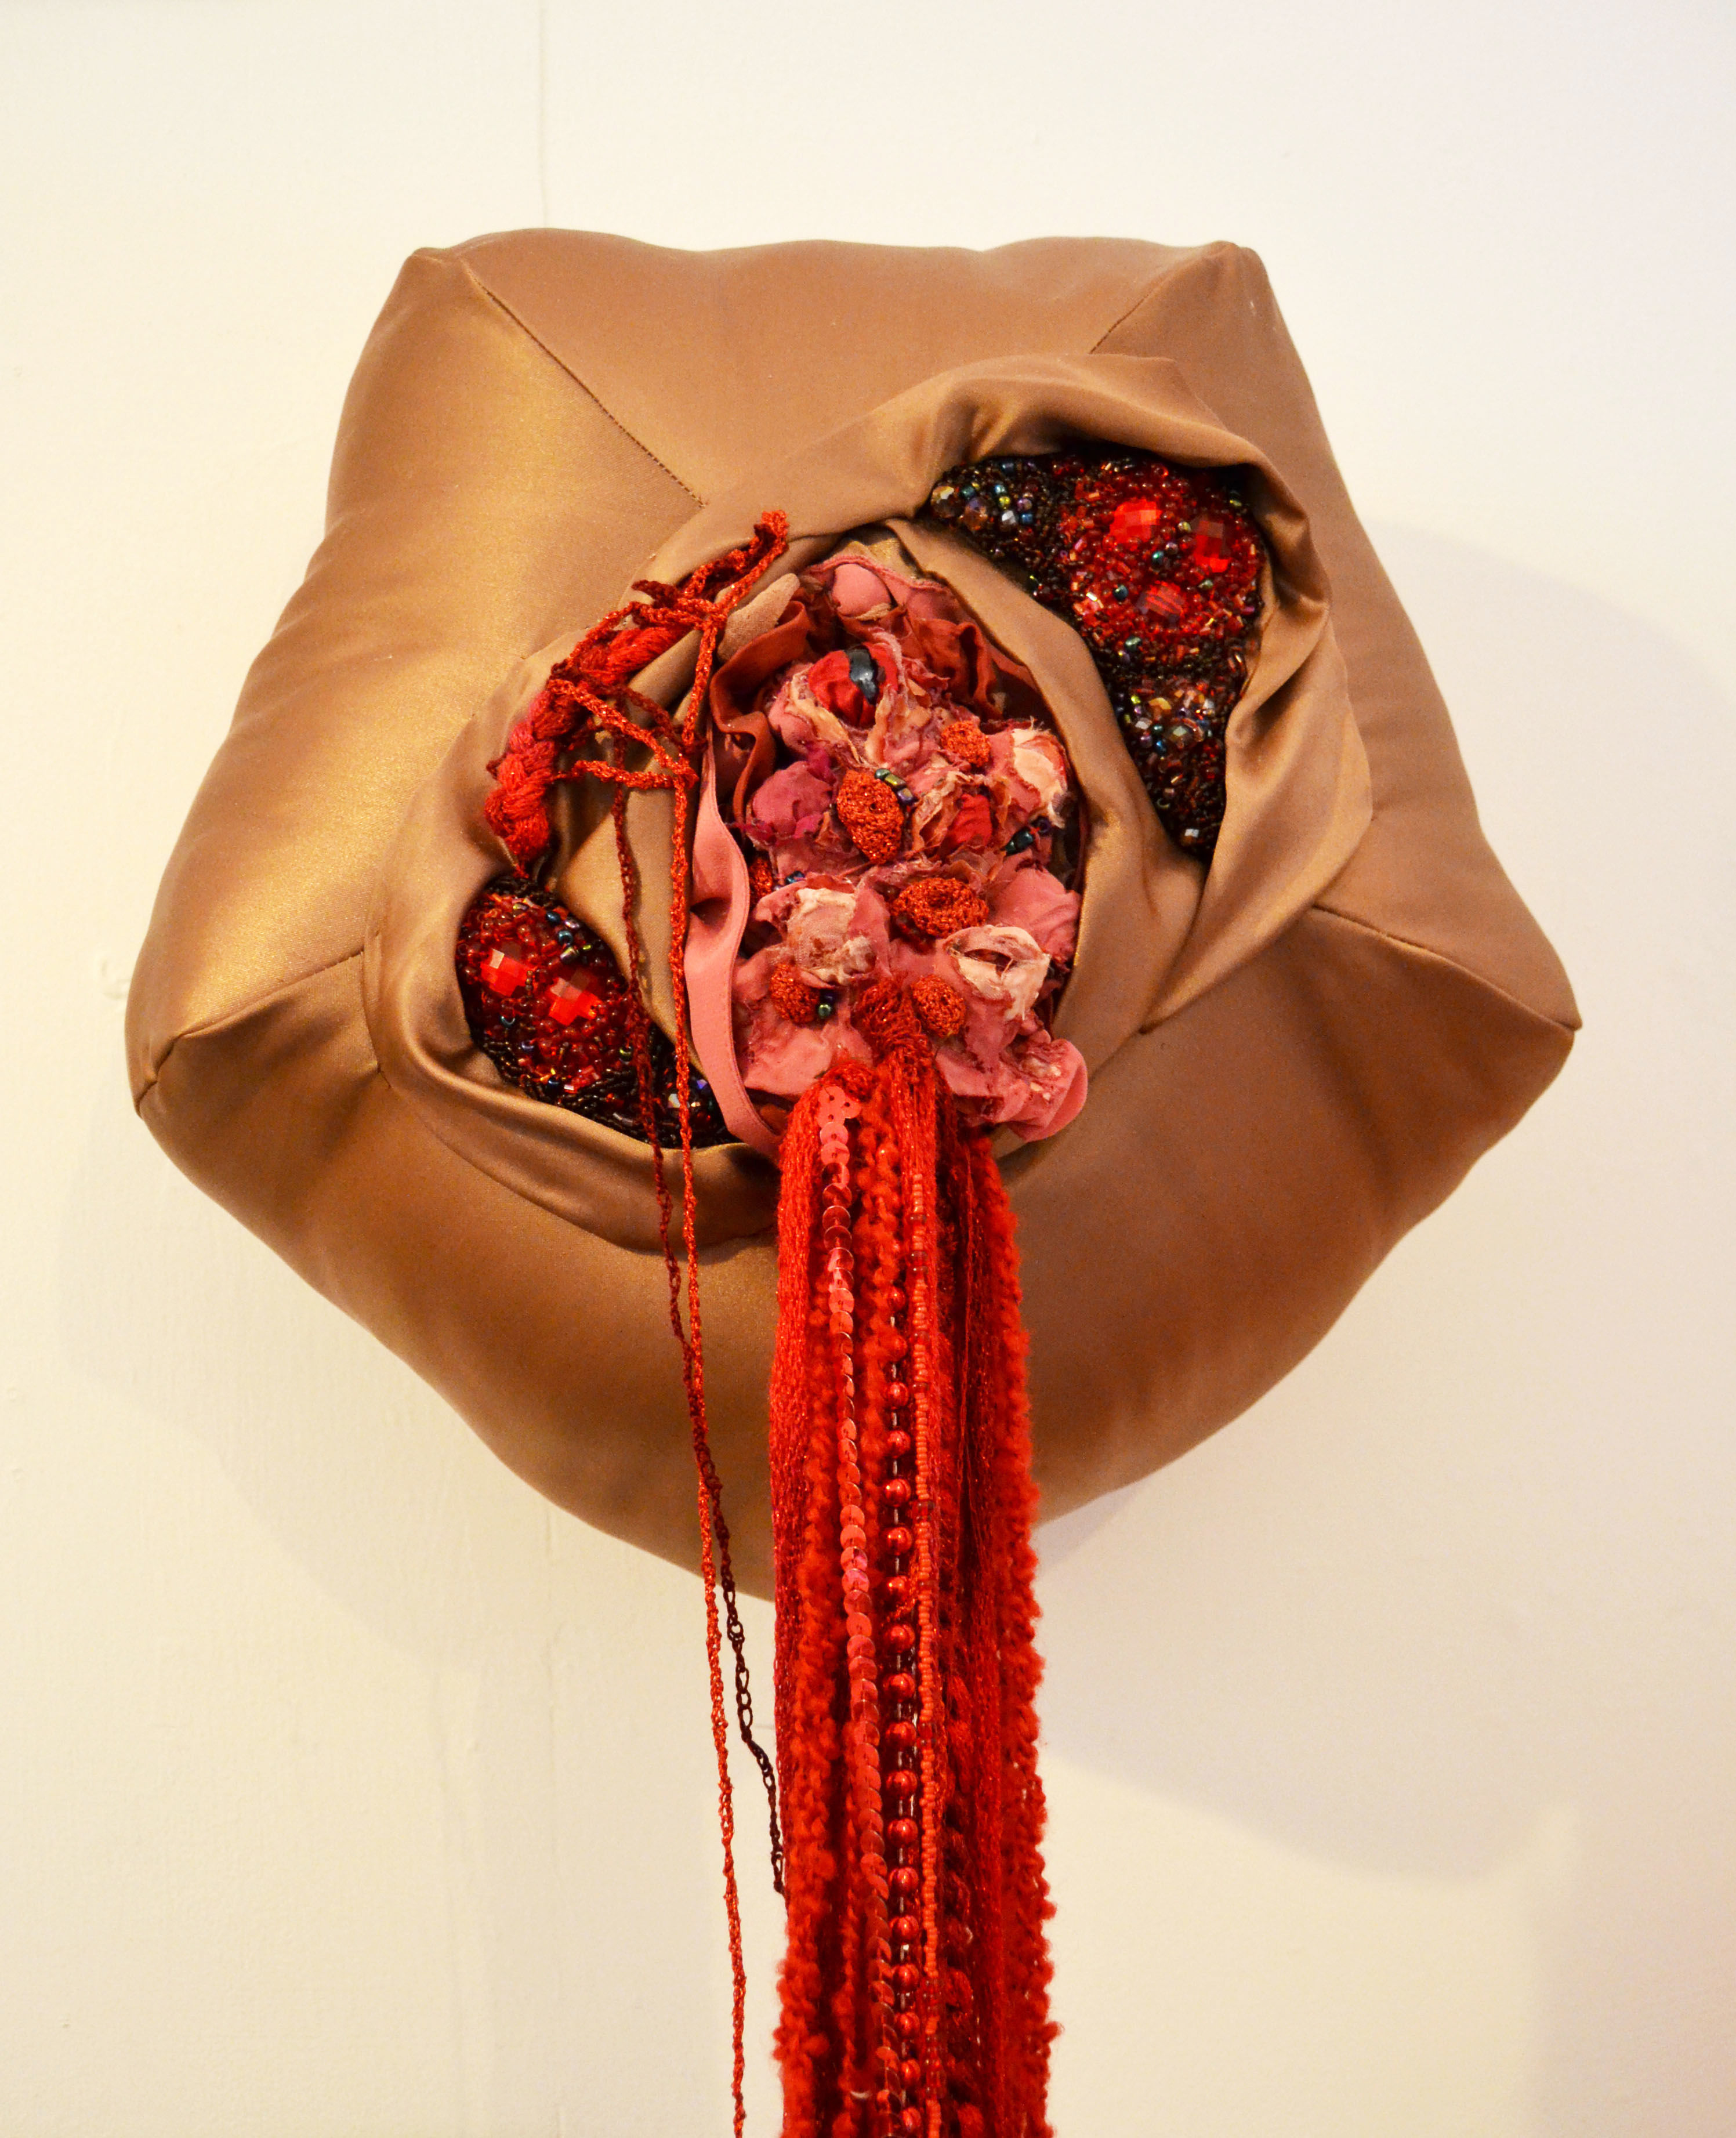
The egg is an ancient symbol of new life, associated with pagan festivals celebrating Spring. From a Christian perspective, Easter eggs are said to represent Jesus’ emergence from the tomb and resurrection. Decorating boiled eggs with the faces of family members is a tradition I still enjoy today. Whatever you do to celebrate, it is a fun time of year and a great way to mark the occasion is with a decorative textile egg.
How To Create A Textile Easter Egg In Seven Steps:
Inspiration & Themes
Springtime is rich in colour and shape with new shoots and Spring flowers. Magazines and gardening catalogues are great visuals to explore. Parks and woodlands are rich in natural foliage. As a child I attended Sunday School and even though I no longer go to church I am drawn to the architecture and adore stained glass windows of old churches with leaded Gothic design. I have chosen these two subjects as my inspiration.

Colour
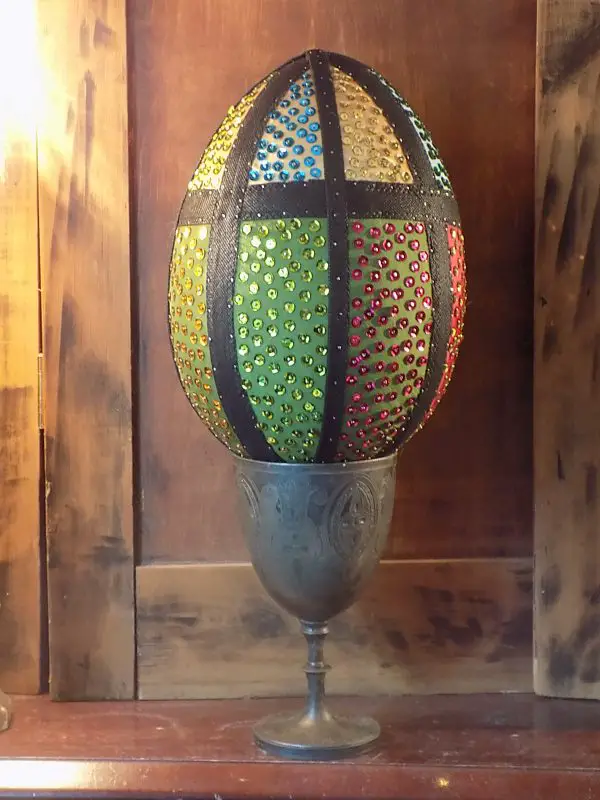
A traditional palette of stained glass represents well the content of my theme: green stems and leaves of Spring with a pale blue sky, the blood of Christ and church candlelight (eternal life). You may opt for a palette of Spring flowers, conjuring up the scent of hyacinths, daffodils and snowdrops.
Fabrics
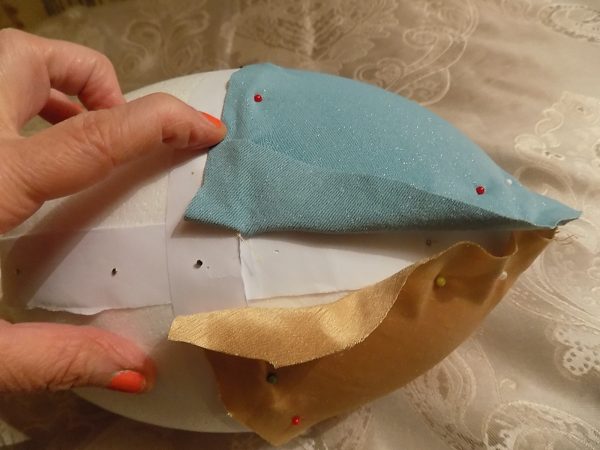
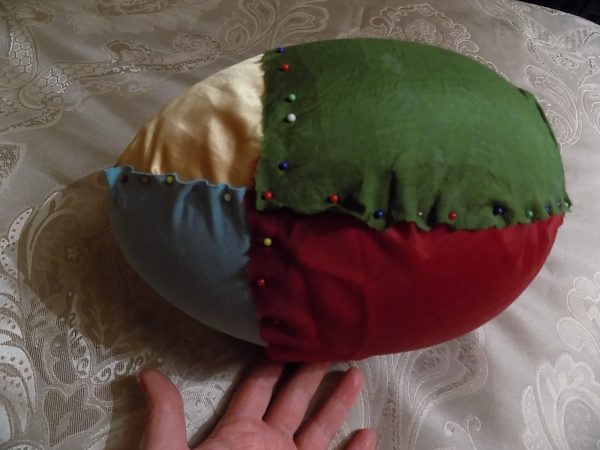
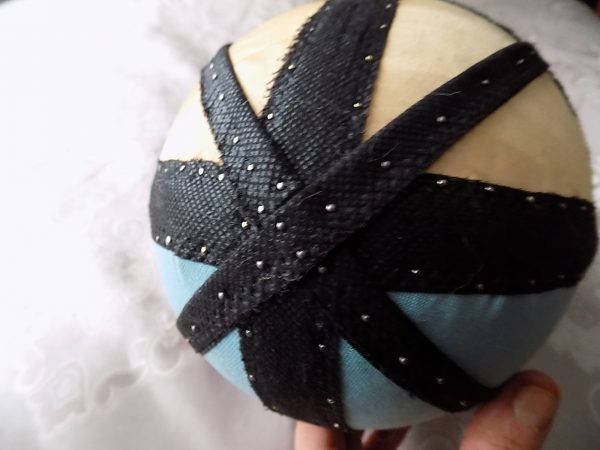
Thin fabrics are easier to use when contouring your egg structure. I have chosen red nylon, green silk, gold satin and blue stretchy viscose. Creating a contrast between light reflective and dense surface fabrics establishes depth within your design. The cross, created from the selvedge (edge) of black netting, layered and stitched to give strength to the structure, establishes the leadwork holding the glass panels in place. I have opted for plain blocks of colour but you may wish to use patterned fabrics to create layering and movement within the surface. Recycling clothes and soft furnishings offers a wealth of colour, texture, pattern and embellishment. Vintage fabrics can add a sense of history and fragility within worn structures.
Tools
You will need:
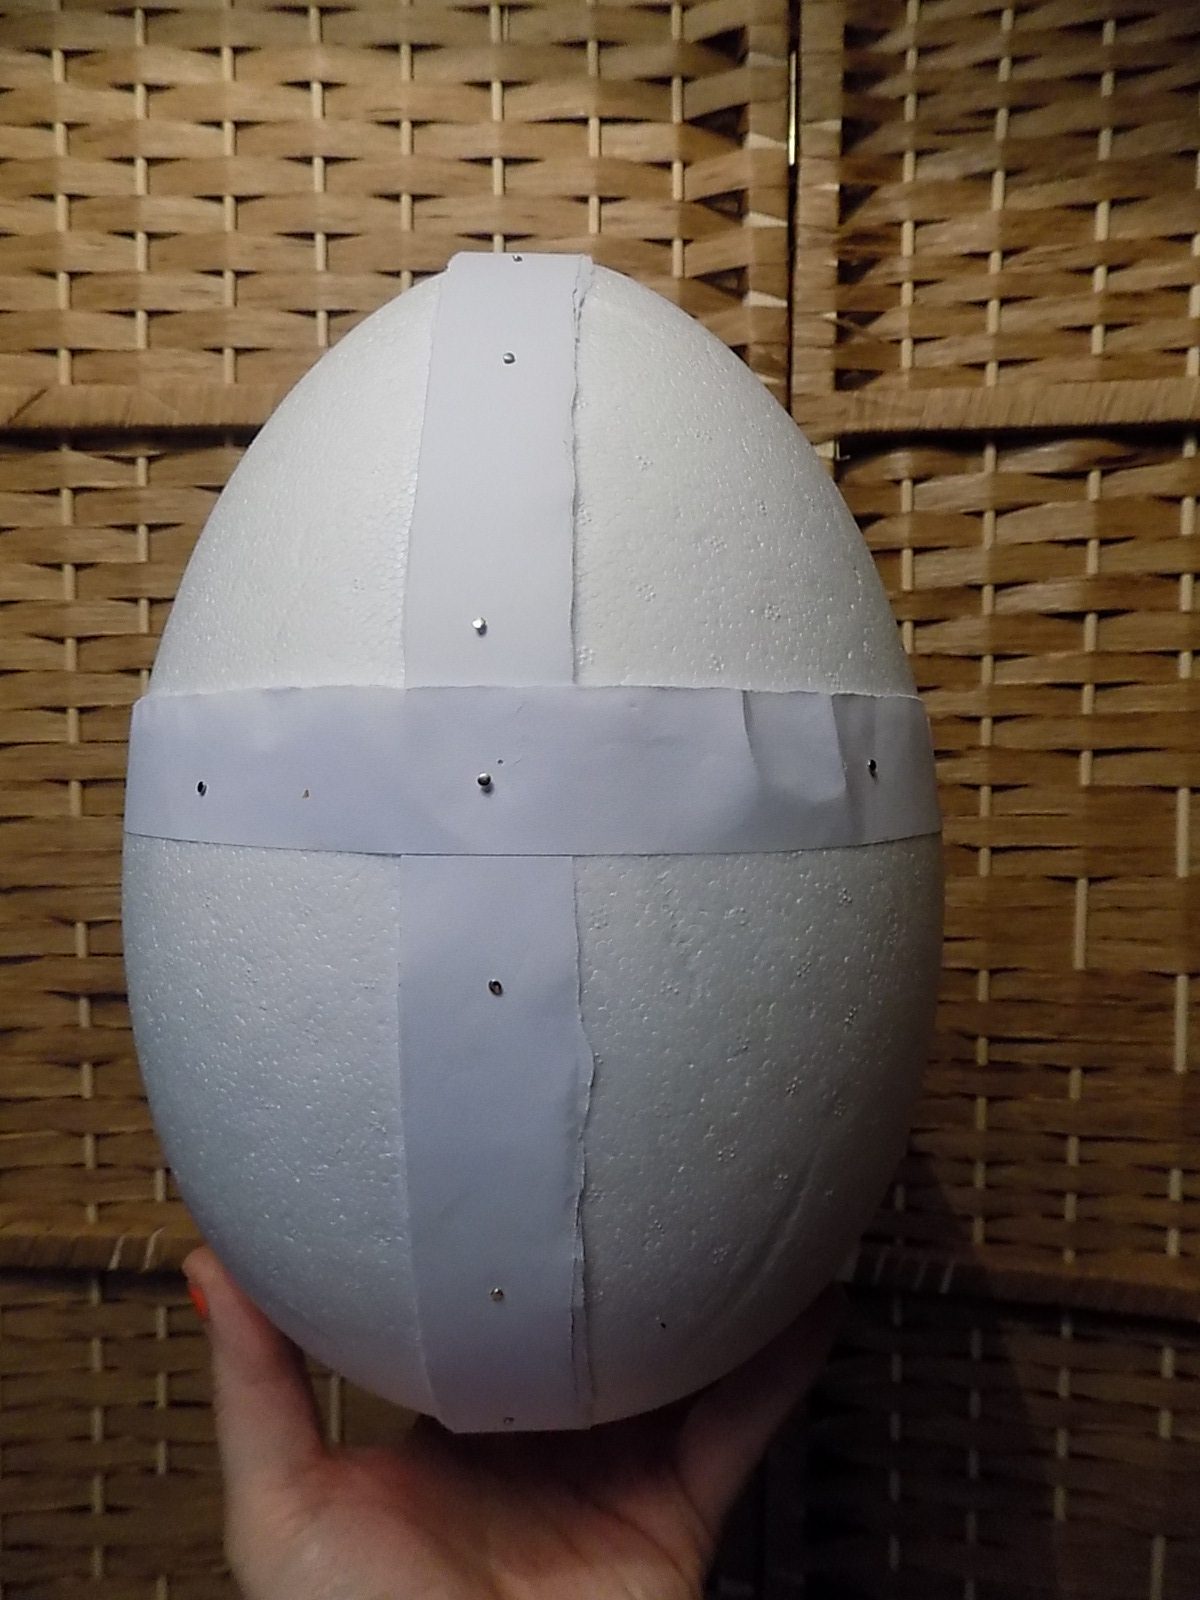
- Polystyrene eggs are available from craft shops and online. The larger the egg the easier it will be to cover because you will have a greater flat surface to work with.
- Strips of paper make a good template and playing around with size is a good visual aid, establishing segments of colour.
- Scissors and pins.
Technique
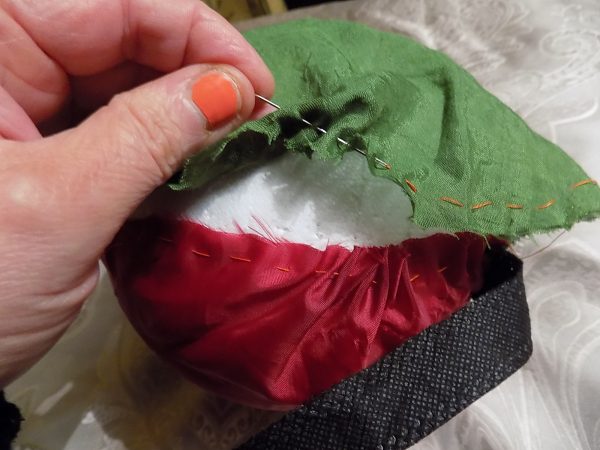
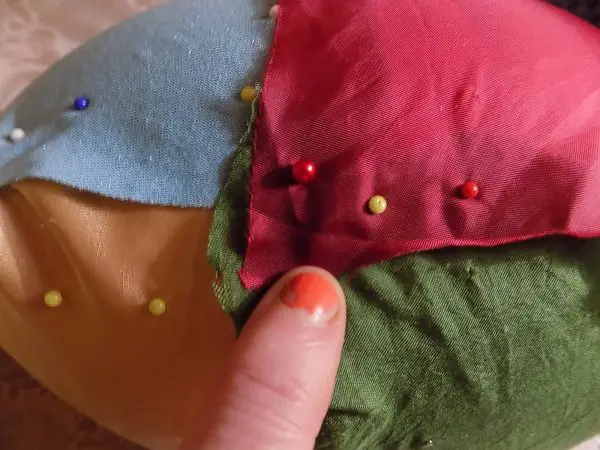
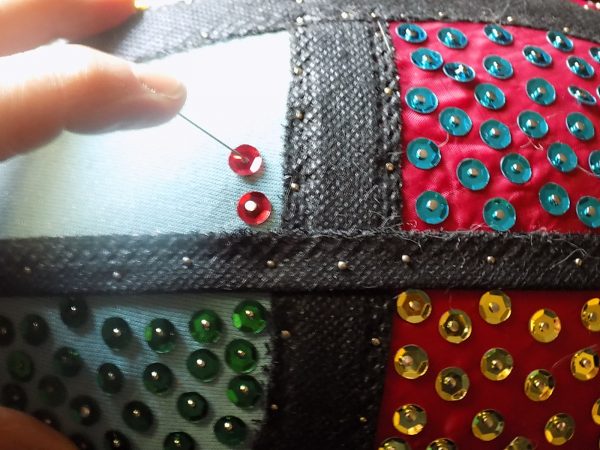
It is tricky to achieve a flat stitched surface. Pinning your fabrics directly onto the egg as you develop your design is an easy solution, pulling fabrics taut for a smooth finish. Top layers can be turned under to neaten or you can opt for a raw edge which adds natural texture. Placing your egg on a cushioned surface will stop it moving around as you work. You may never achieve a totally flat surface and pleating may be unavoidable. It doesn’t have to be perfect and you could make a feature of folds as a dressmaking technique. A simple running stitch will gather excess fabric. Follow the steps below.
Embellishment
Long silver pins create a simple structure with segments of colour adorned in sequins, dispersing colour throughout the design. You may wish your egg to be purely decorative, like a Faberge egg. You can add anything which can be pinned – old jewels, diamante, metallic shapes. Layering panels of lace, ribbon, braid, netting and wool establishes a depth of colour and texture. Patterned fabrics adorned in metallic thread offers a rich embellishment within the structure of the cloth.
Displaying Your Egg
Showing off your creation deserves some thought in it’s presentation. A vintage drinking goblet serves as a church related prop for my design but you can use any decorative receptacle. Glass and metallic cups, bowls, decanters and vases offer suitable objects to elevate your creation. You can suspend your egg by extending a braid or lace panel within your design. Hang small eggs from natural or painted branches displayed in a large vase using ribbons.
I do hope you are inspired to create your own textile Easter Egg!
For more inspiration please visit the ‘Religion’ gallery at my website .
Wishing you all a very HAPPY EASTER.

