Welcome back to NeedlePoints of View, a monthly column brought to you by Emma of The Maker’s Marks and Hannelore of Hedgehog Needlepoint, where we’ll be sharing our love of all things needlepoint. Whether you’re new to the craft and want to learn what it’s all about or you’ve already fallen under needlepoint’s spell, we hope to inspire you to pick up a needle and get stitching.
My needlepoint obsession!
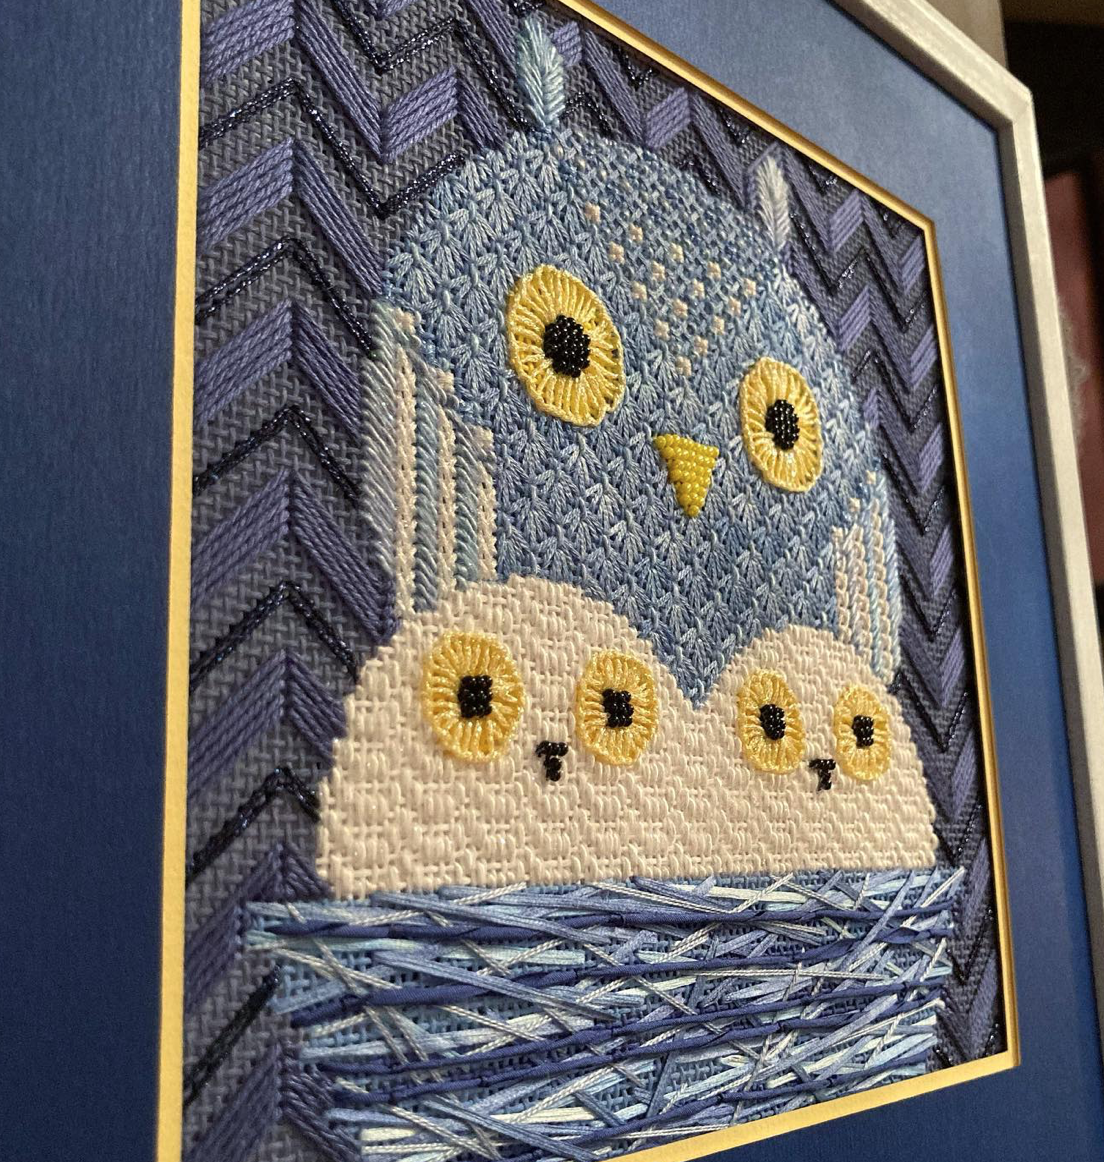
If you’ve ever stumbled upon my instagram page it will be immediately apparent to you that I am utterly obsessed with ‘decorative stitches’.
I love the texture and movement they bring to needlepoint projects and I am forever trying new ones and sharing them under my instagram hashtag #stitchmonday .
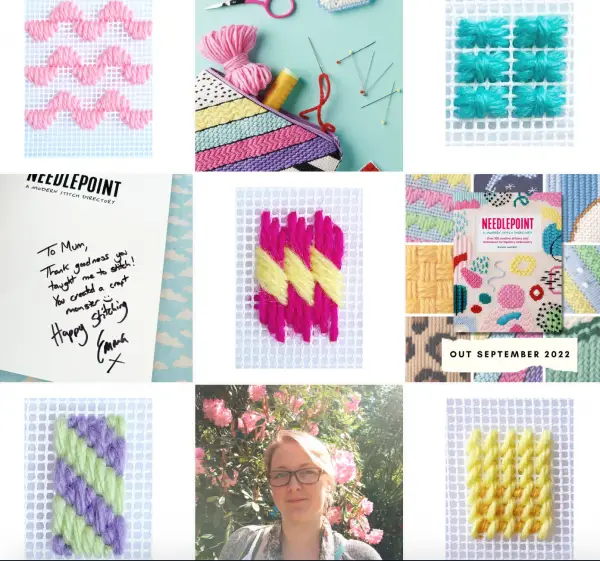
Simple, Structured & Statement Stitches
Decorative stitches are a great way to add your own spin to a needlepoint canvas, stretching your creative legs and making it uniquely yours. For me they fall under three categories: Simple, Structured and Statement.
A ‘Simple’ stitch is very unfussy, not made up of too many component parts, and the chances are you learnt it at school. Like Tent Stitch, Cross Stitch, Back Stitch and Satin / Long Stitch.
A ‘Structured’ stitch is a slightly chunkier stitch, one that tends to travels over a larger area of canvas to make its shape’ like Chequer Stitch, Condensed Mosaic Stitch and Hungarian Diamond stitch.
And your ‘Statement’ stitches are your big blousy ones, like the amazing Pinwheel Stitch.
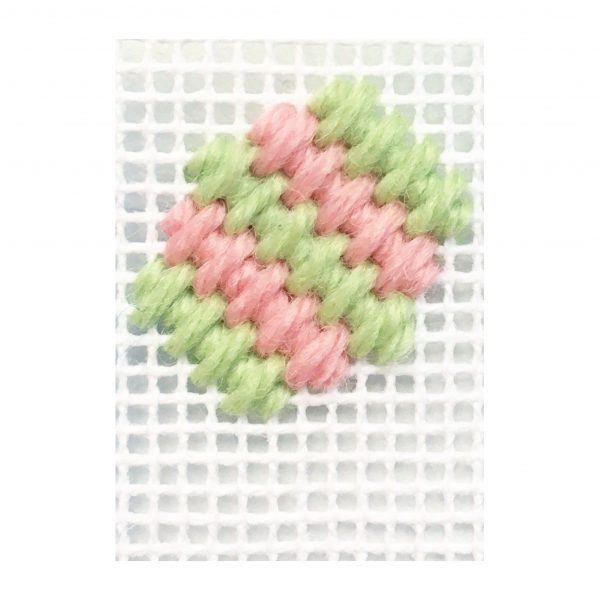
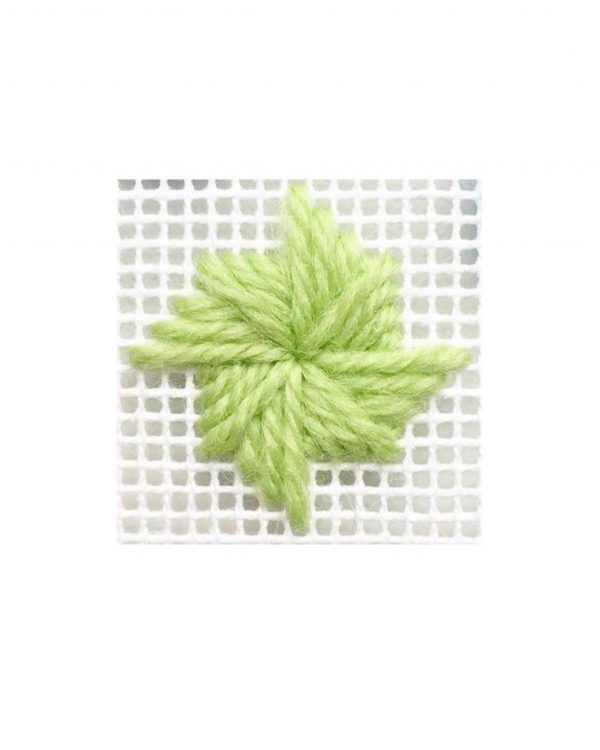
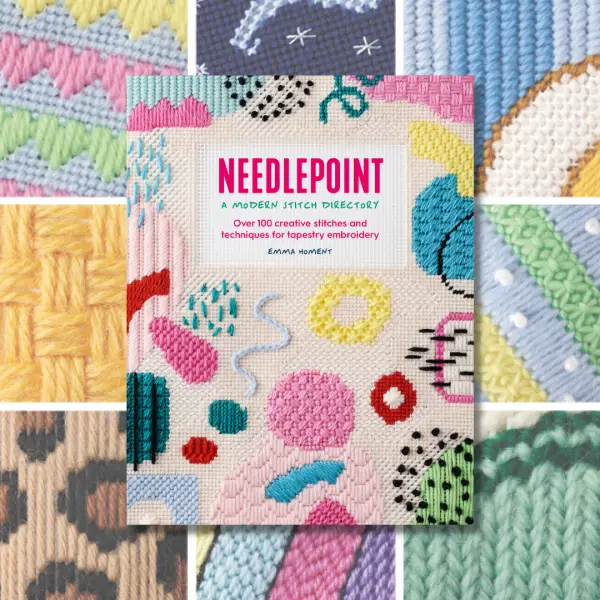
All of these stitch types are explored in my book Needlepoint, A Modern Stitch Directory.
Which stitch to choose when?
Decorative stitches are like diving in to a sweet shop for needlepointers, there’s so many to chose from so how do you know which ones to use when?
Well first you need to consider what sort of area on your canvas you’re choosing for: will it be on the background or filling an area?
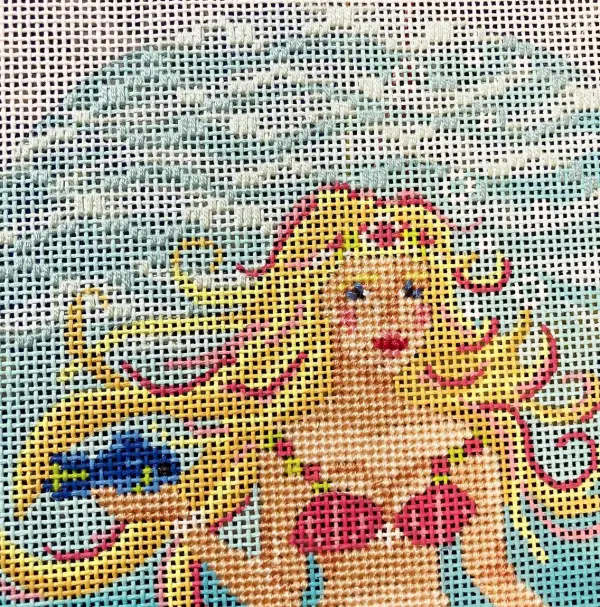
Some of the easiest filling stitches can be found in the tent stitch family, such as basketweave and continental stitch, or their cousins, T stitch or Nobuko. Generally, you’ll find any stitch with small component parts an easy one to fill with.
Equally, satin stitch and any of its variations, including horizontal, vertical and diagonal satin stitch, are super easy to negotiate into tricky shapes, because they just work on simple lines at any length.
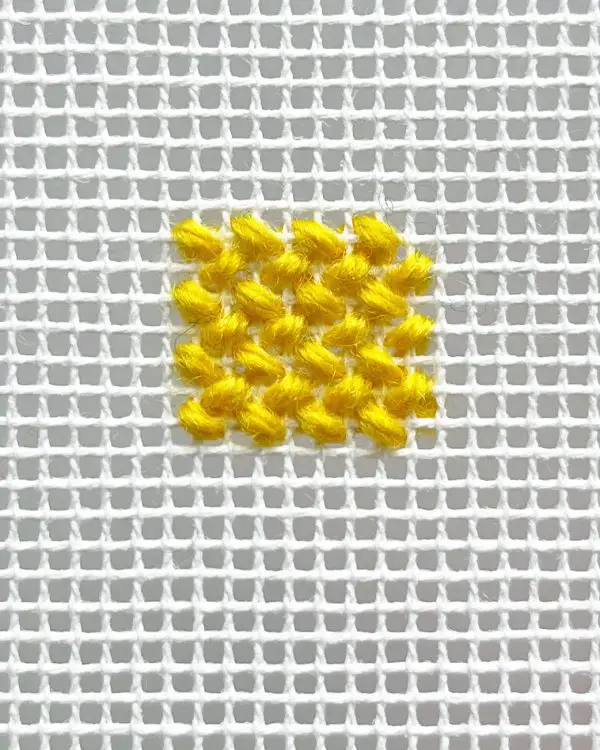
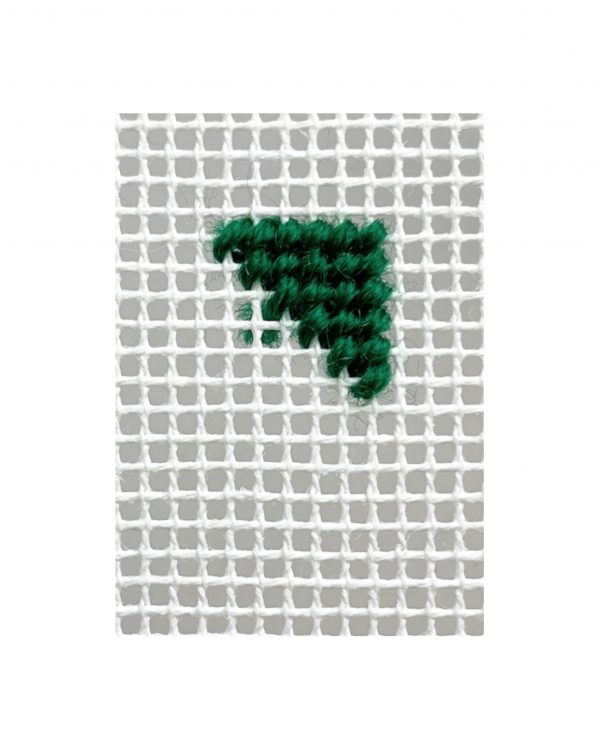
However, it starts to get a little harder the bigger your stitches get. Even an upright cross stitch can be a tricky filler as although it only crosses two bars of canvas, the fact that its rows are offset means that it can be tough to neatly fill up to an edge. In situations such as this, a ‘compensating stitch’ is called for.
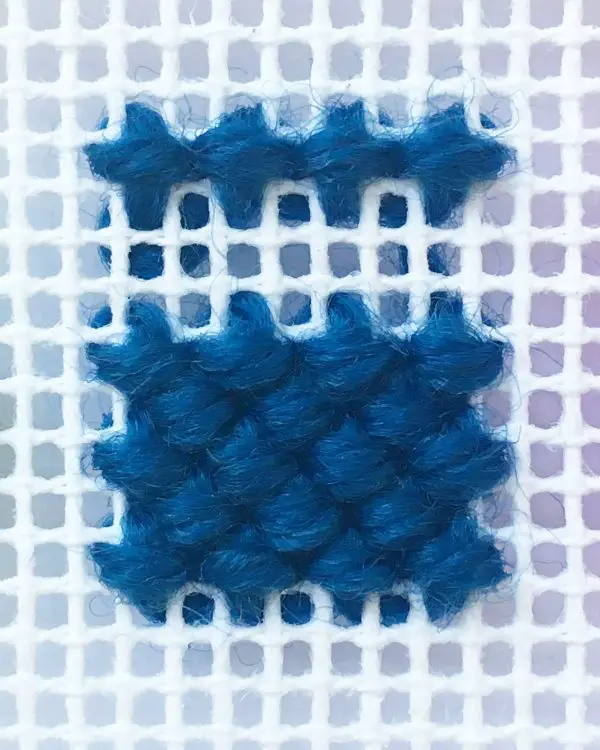
Compensating stitches enable you to neatly finish right up to the edge of a shaped section. Sometimes, there isn’t room to use the whole of the stitch, so you have to adapt the working of the stitch to use a partial section of it to finish off, this is a called a compensating stitch.
Get creative with your backgrounds!
The most important thing to remember with background stitches is not to let them pull focus from your main design area.
Backgrounds can be reserved for small stitches and some stitchers prefer that – but then again, the background can be such a good area to be brave and explore something a bit more substantial. After all, big stitches need big spaces to fill!
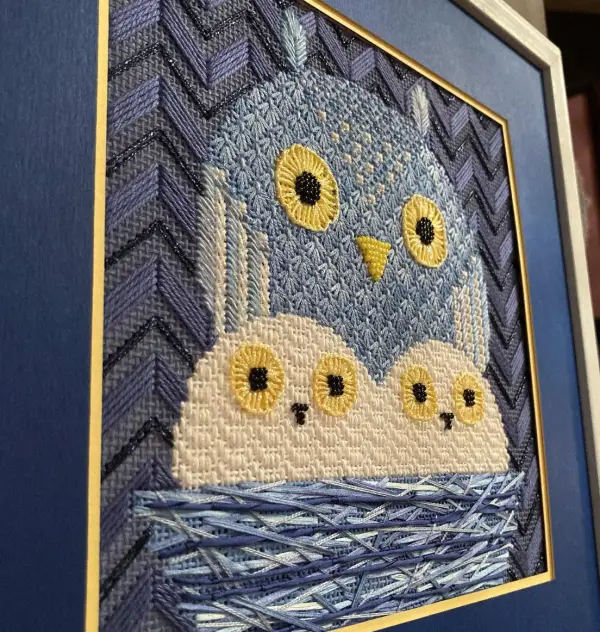
Stitches that leave some exposed canvas between themselves can work brilliantly in backgrounds, especially if your main design is made up of a solid block of stitches, it’s a great way to add instant depth.
One of my favourite instagram accounts is The Marquis Sisters. They are absolute legends at picking incredible background stitches. They are well worth a follow!
So what are you waiting for? It’s time to get creative on your canvasses!

